First Charge at Home
How to use an Evnex EV home charger
1. Create your Evnex Account
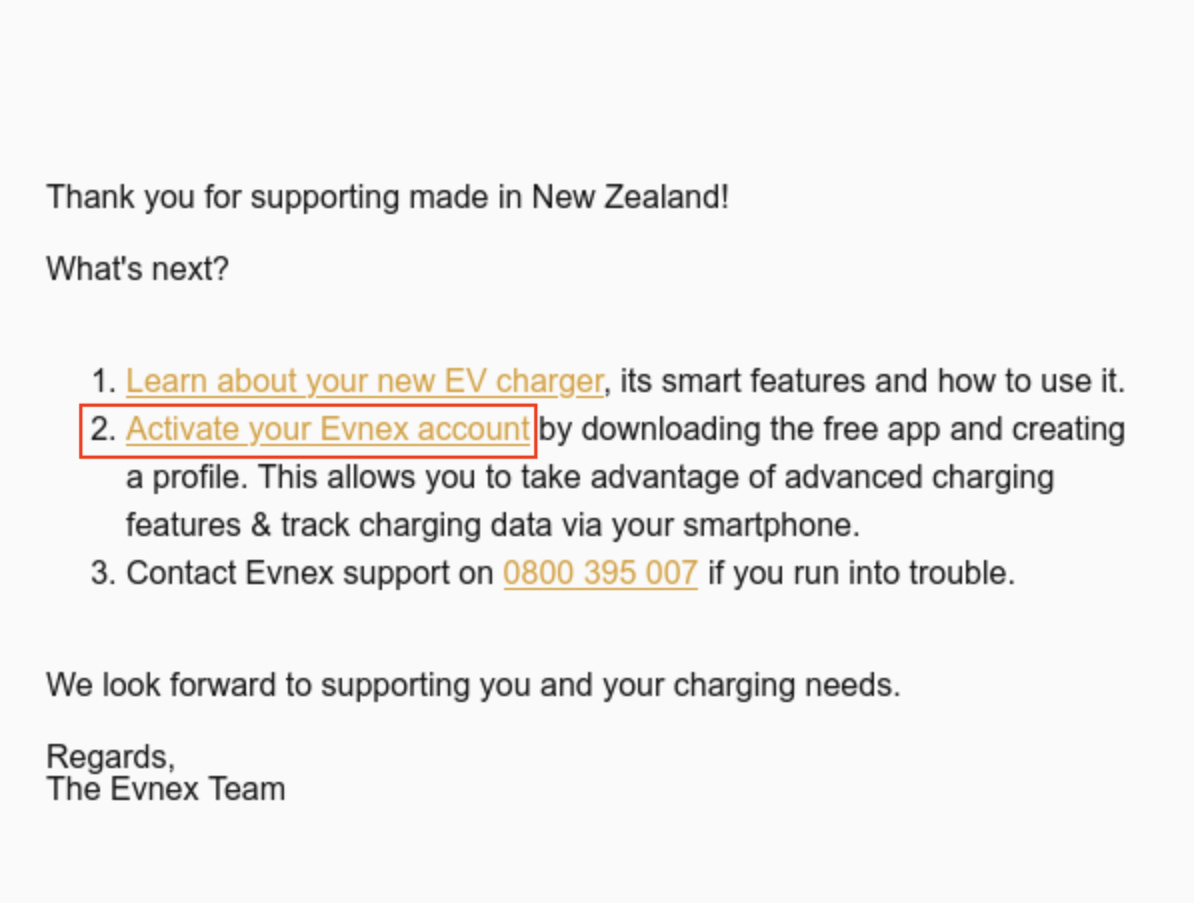
Check your email to book the charger's installation by searching your inbox for correspondence from [email protected]. Open the email below using your mobile device and tap the link "Activate your Evnex account". This will automatically download the Evnex Driver's App from the relevant app store and enable you to set a password for your account.
If you've already made an account, please skip forward to Step 2.
I don't have an invitation to create my accountPlease check your email's spam folder in case it ended up there. If your Evnex charger has been provided by an employer or business, please contact them directly to activate your account. If purchased directly through Evnex, you can contact [email protected] to have the account activation email re-sent.
Downloading the app
In case of issues downloading the Evnex app automatically, you can also access it quickly via the above links / QR codes.
2. Connect Your EV Home Charger
After your charger has been installed, the next step is to connect it to the Evnex Driver's App. Start by opening the app and entering your account details.
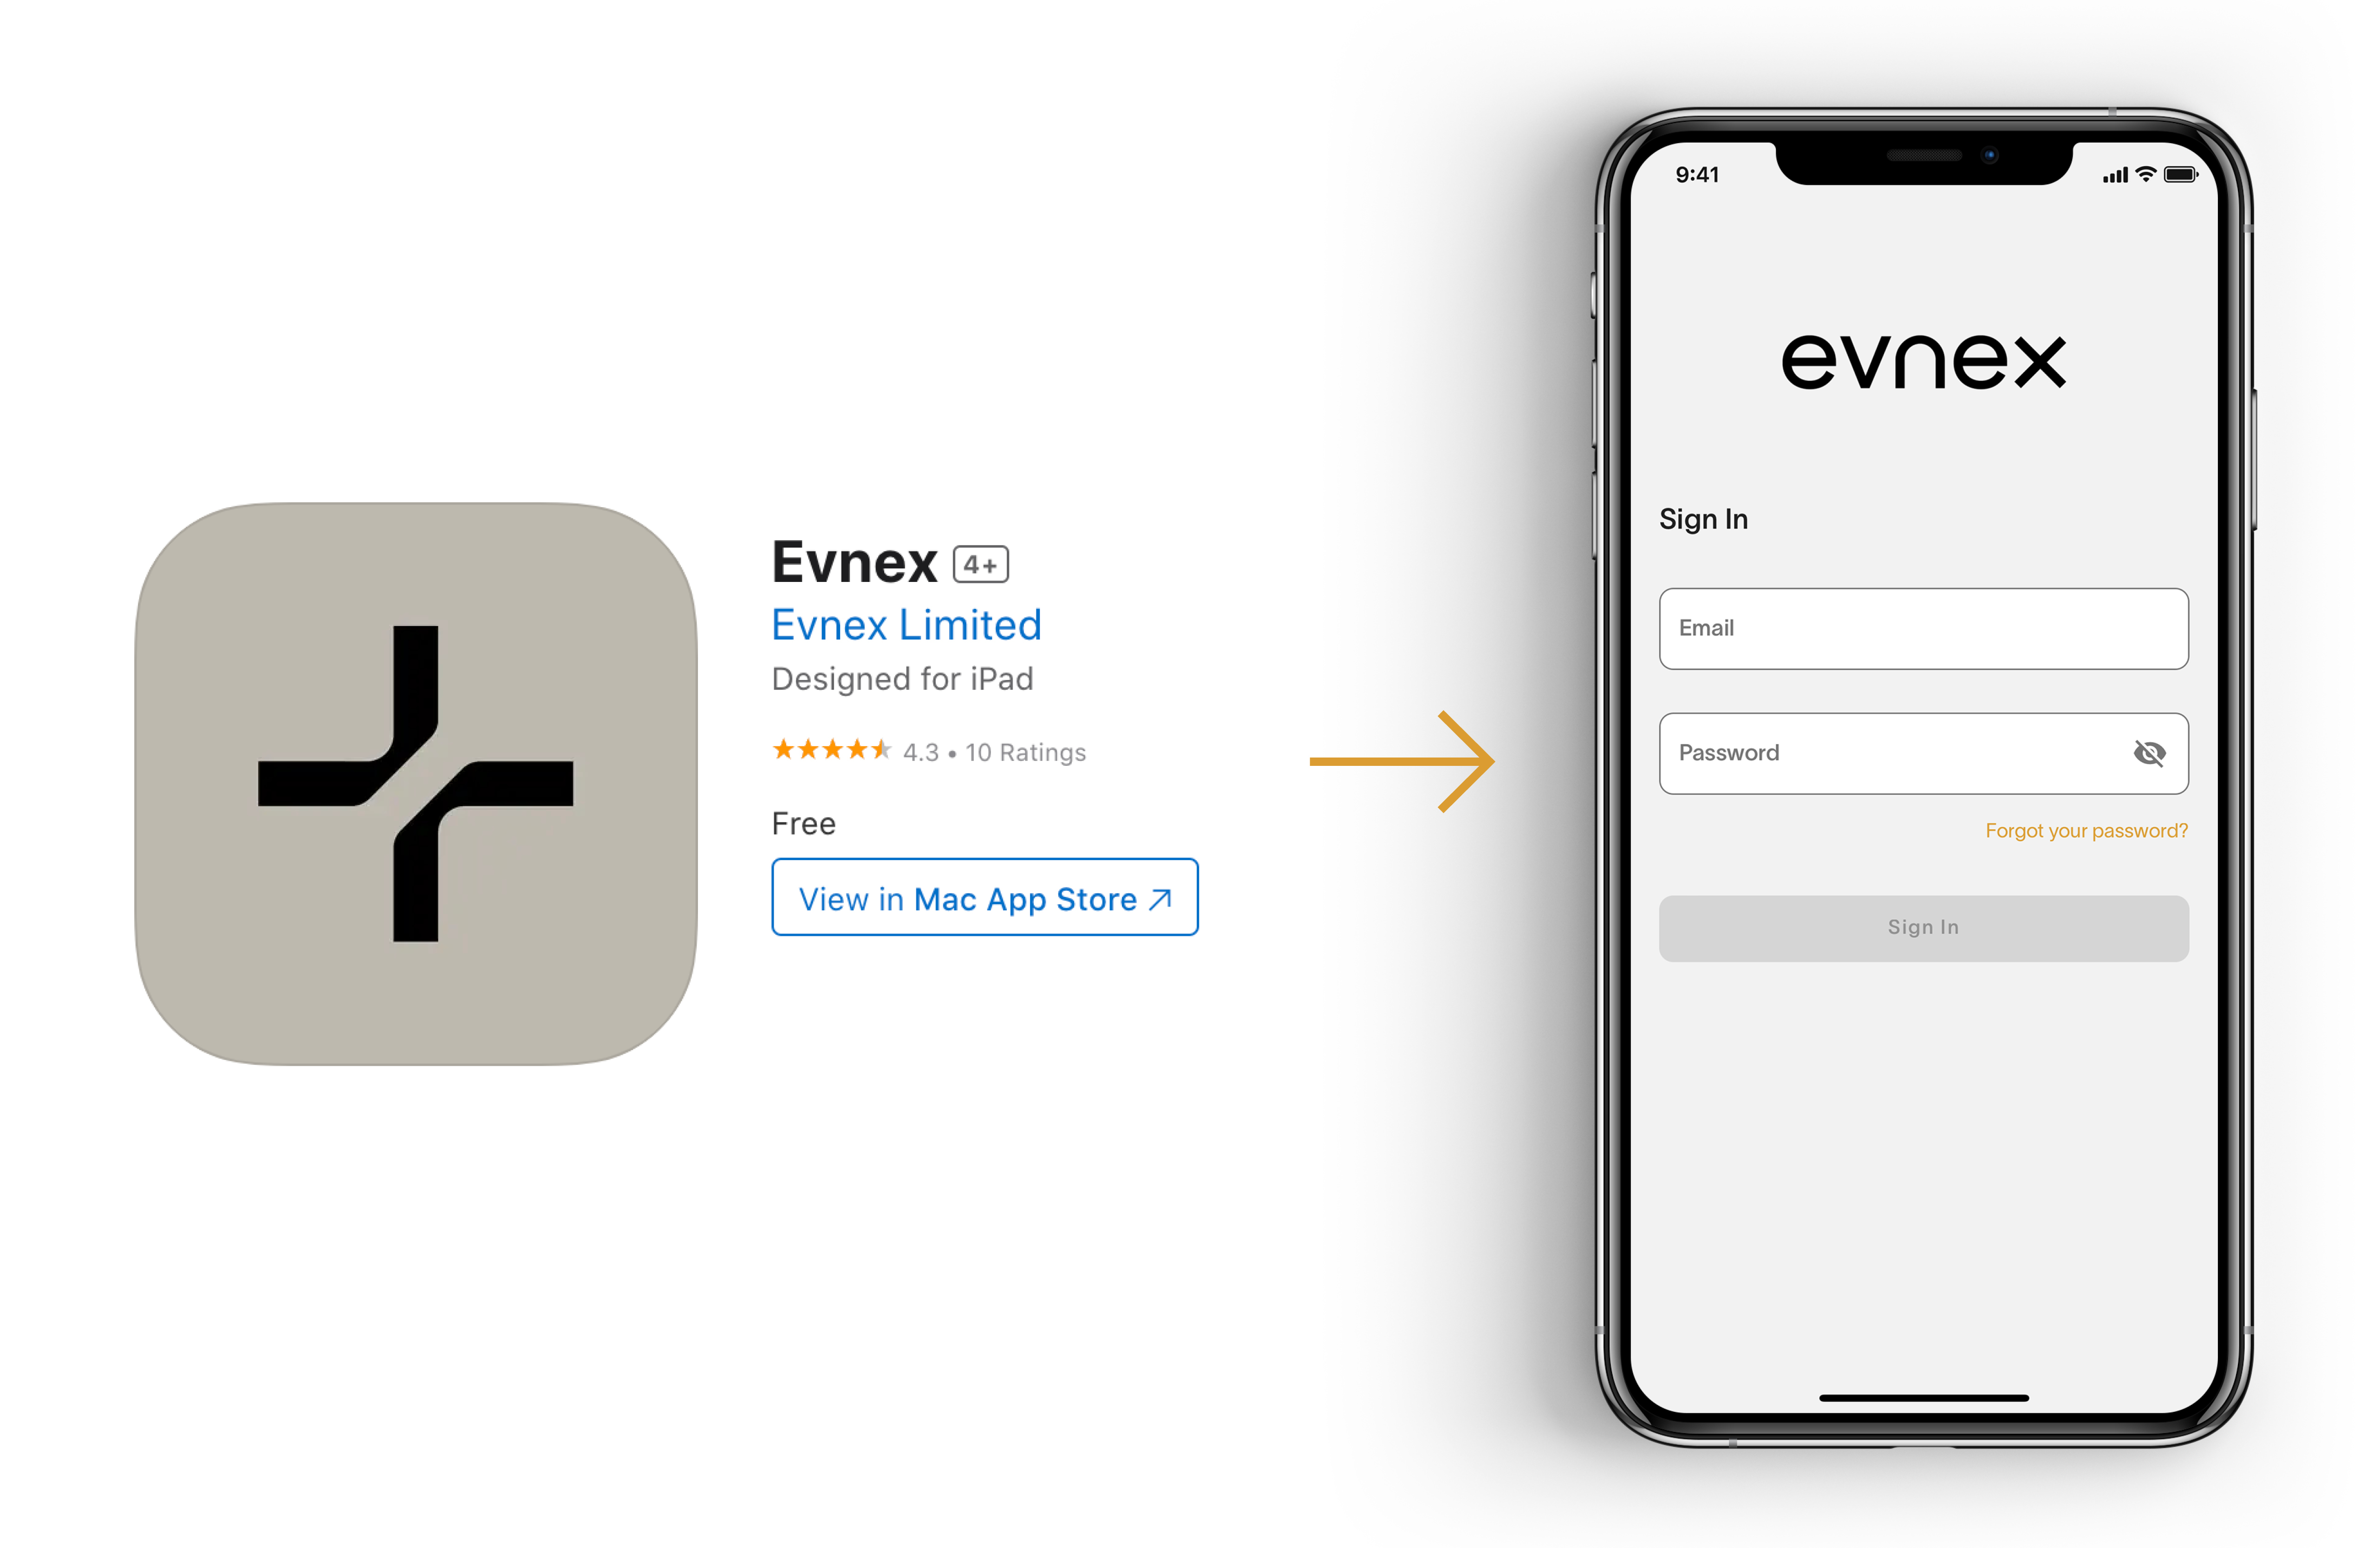
Enter your account details into the "Evnex" Driver App Login Screen
After logging in, navigate to the "General Settings" tab. Here you can update your charger details, adjust connectivity settings and choose to enable or disable your charger.
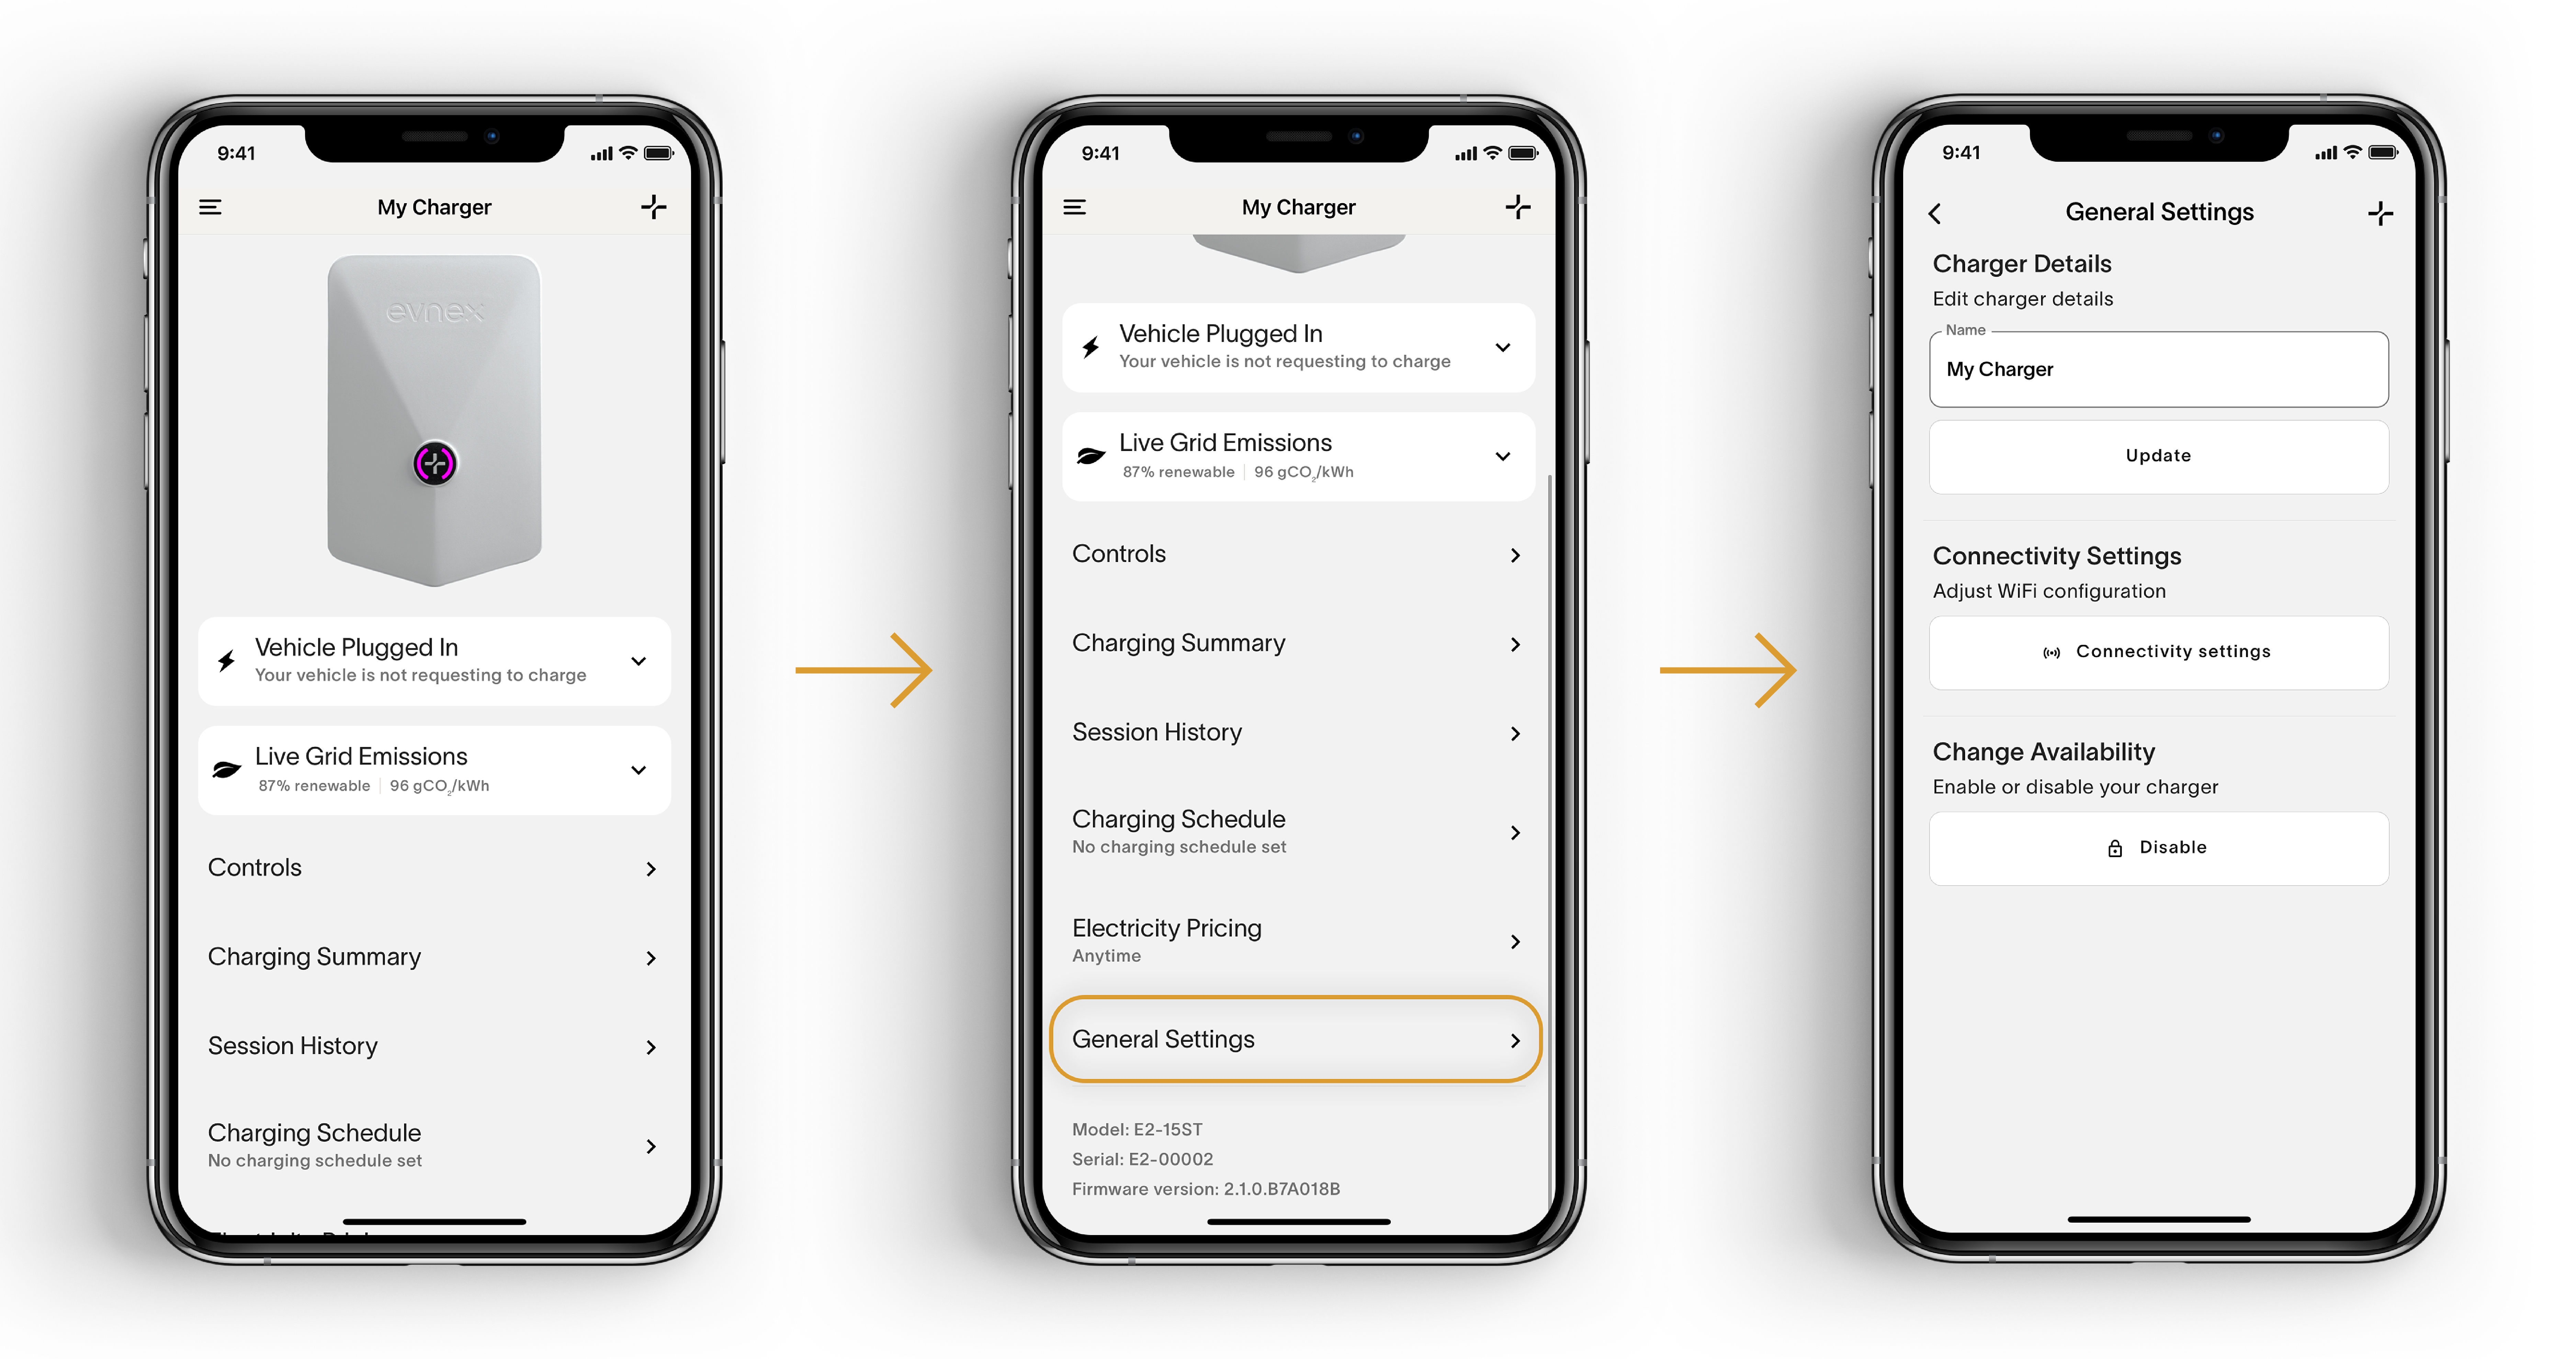
Set up your charger name, connectivity settings and charger availability.
My Charger is still offline*If your charger still remains offline, please review our Troubleshooting Guide.
3. Prepare to Charge
Connect the charging cable to your vehicle’s charging socket. For socketed units, connect the cable to the charger first and plug in the vehicle second. There are visual LED indicators on the charger that help confirm that this process has gone smoothly. If you've performed these steps and your unit's "Charge" LED light is flashing green then you're ready to start a charging session.
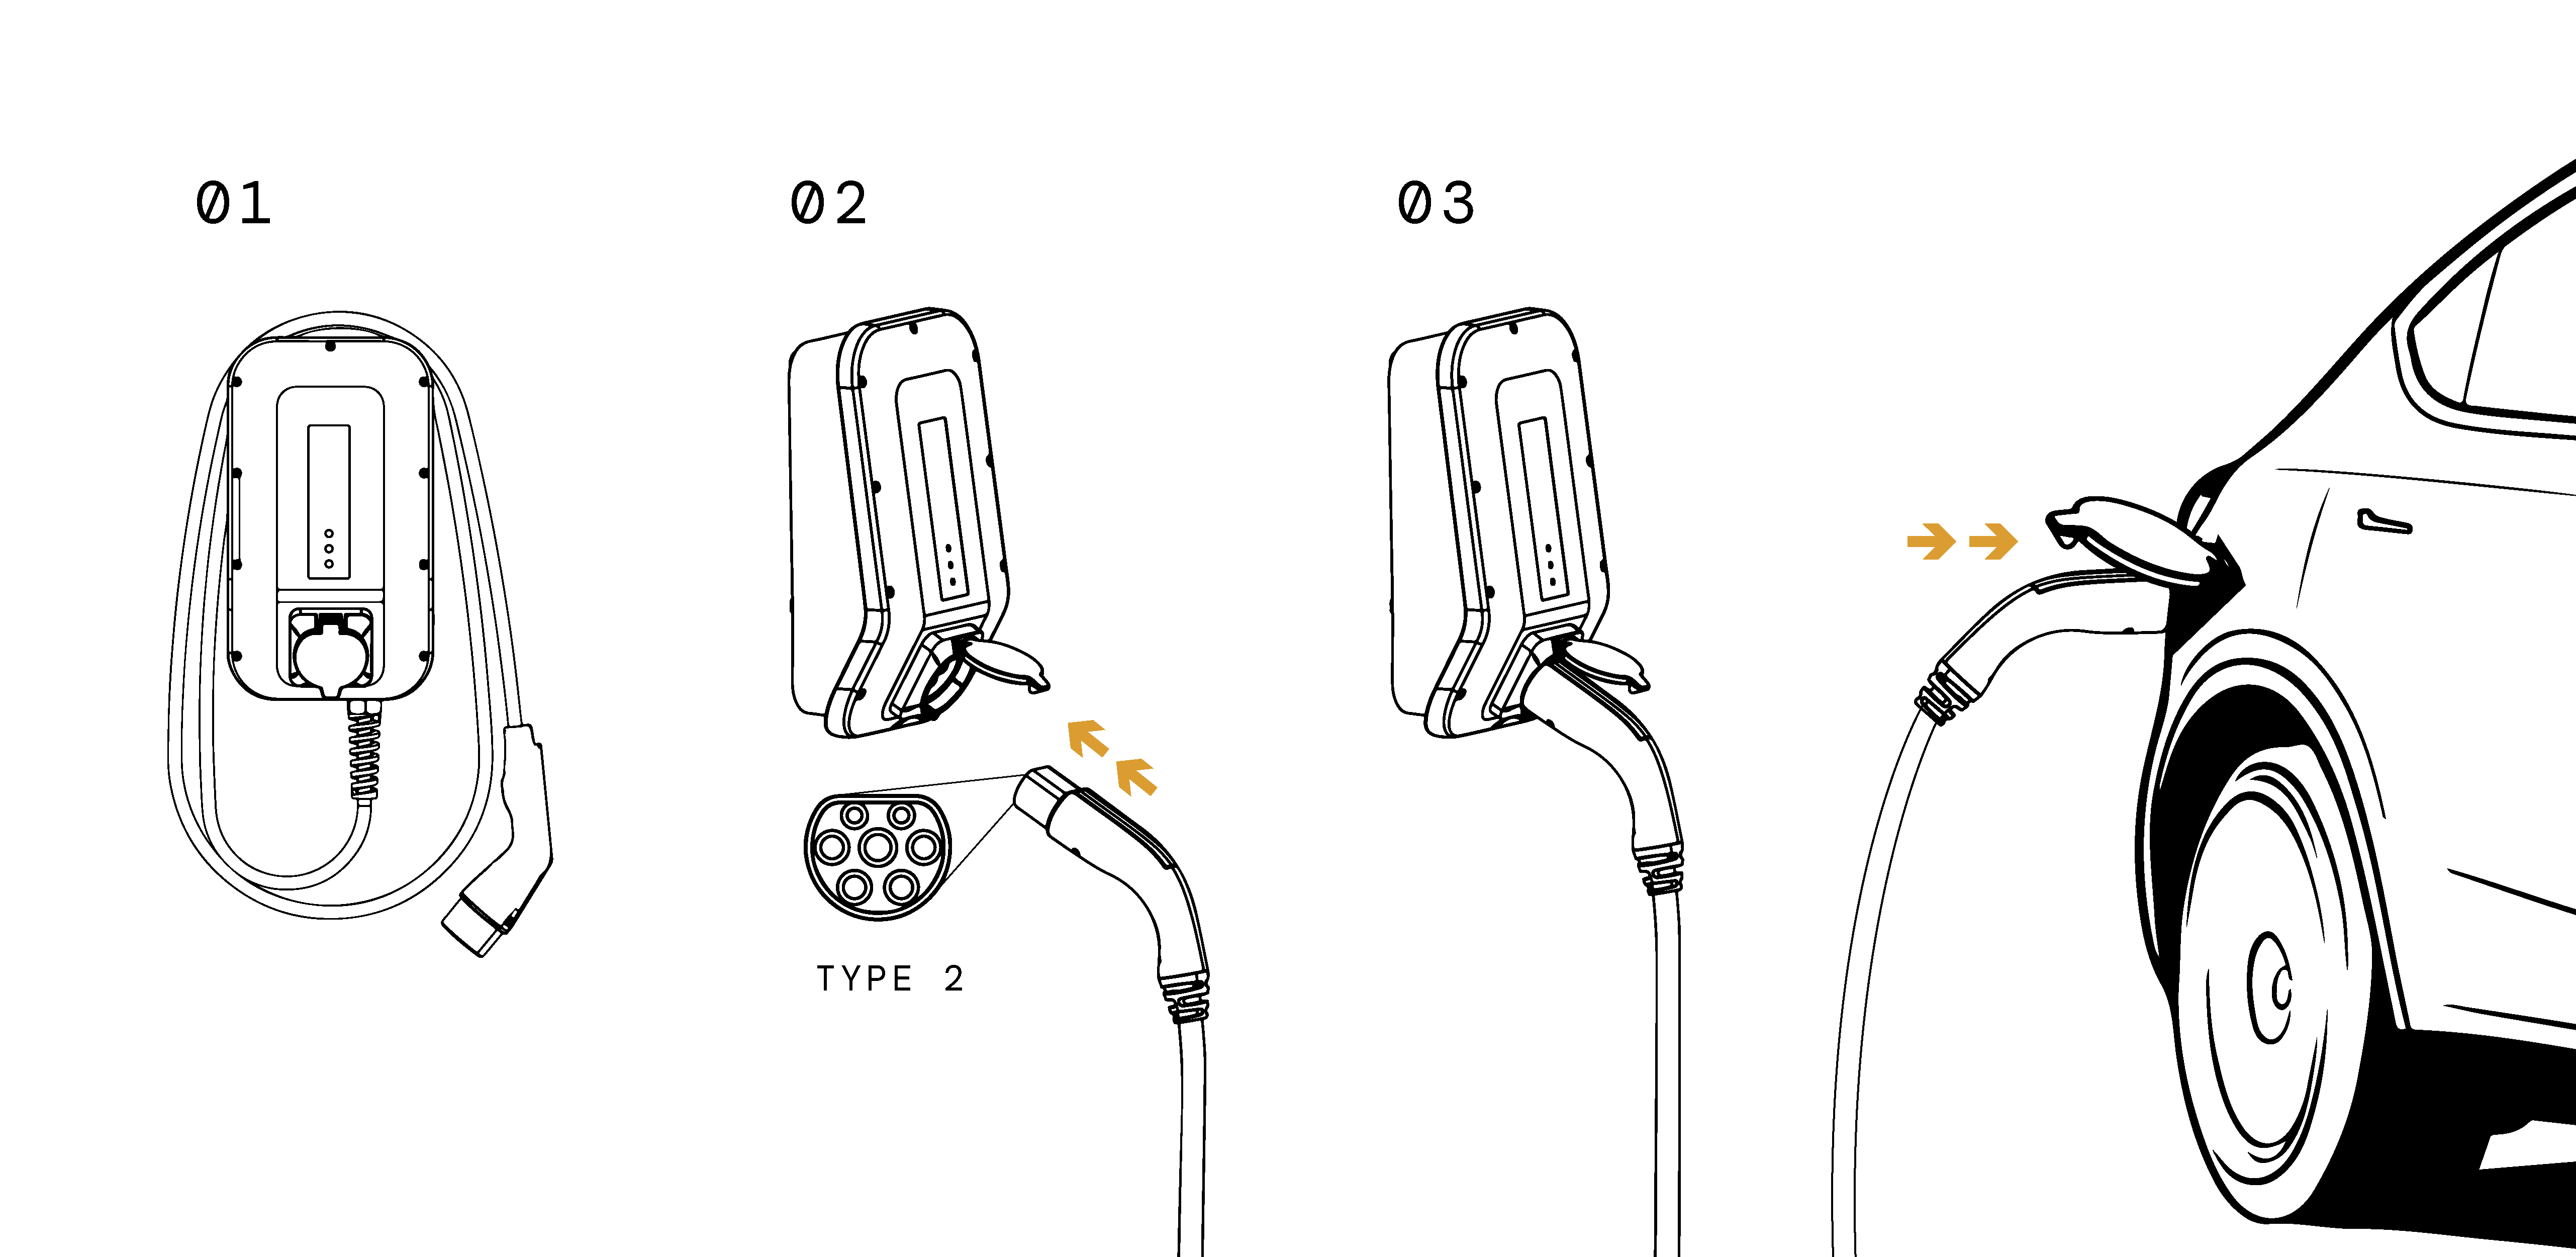
Avoid turning off your chargerFor the best user experience don't cut power to your charger as it requires electricity to communicate. You can safely stop charging sessions whenever you need to from the app or vehicle. When not charging your car the power draw from your charger is extremely low.
The X Series Display Status
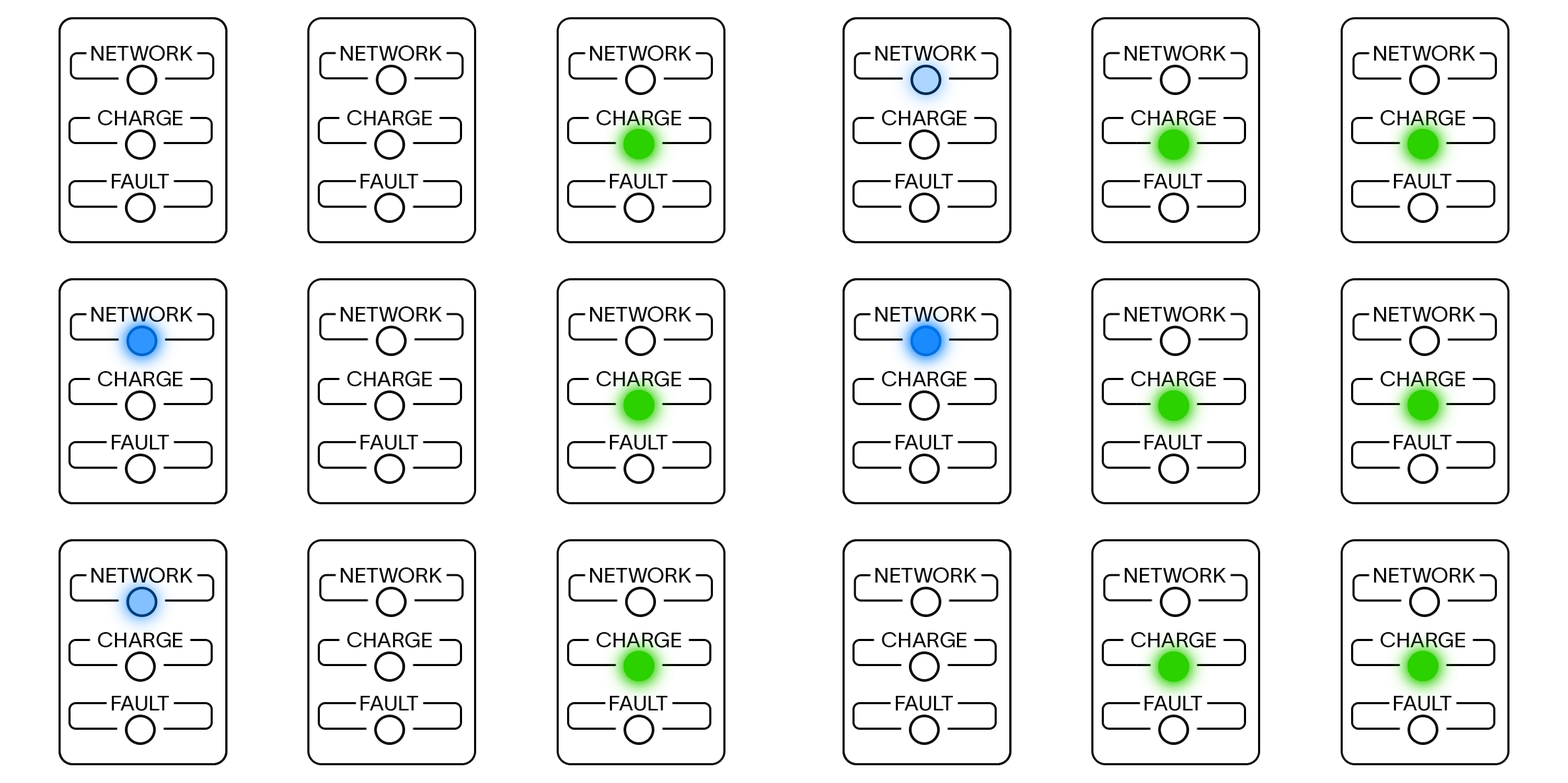
LEFT: The Evnex charger is connected to the cloud network successfully. Centre: The charger is ready to begin a charging session (after the cable is plugged into the car). Right: The charging session has begun / is in progress.
Does a green light mean I'm charging?Only a full continuous green LED light indicates your charging session has is in progress. A flashing green light means your charger is only ready to start a charging session. It's waiting for a pre-determined charging schedule set by the charger or vehicle.
The E2 LED Display Status
The LEDs on the front of the E2 charger indicate the current status, using a combination of colour and animation.
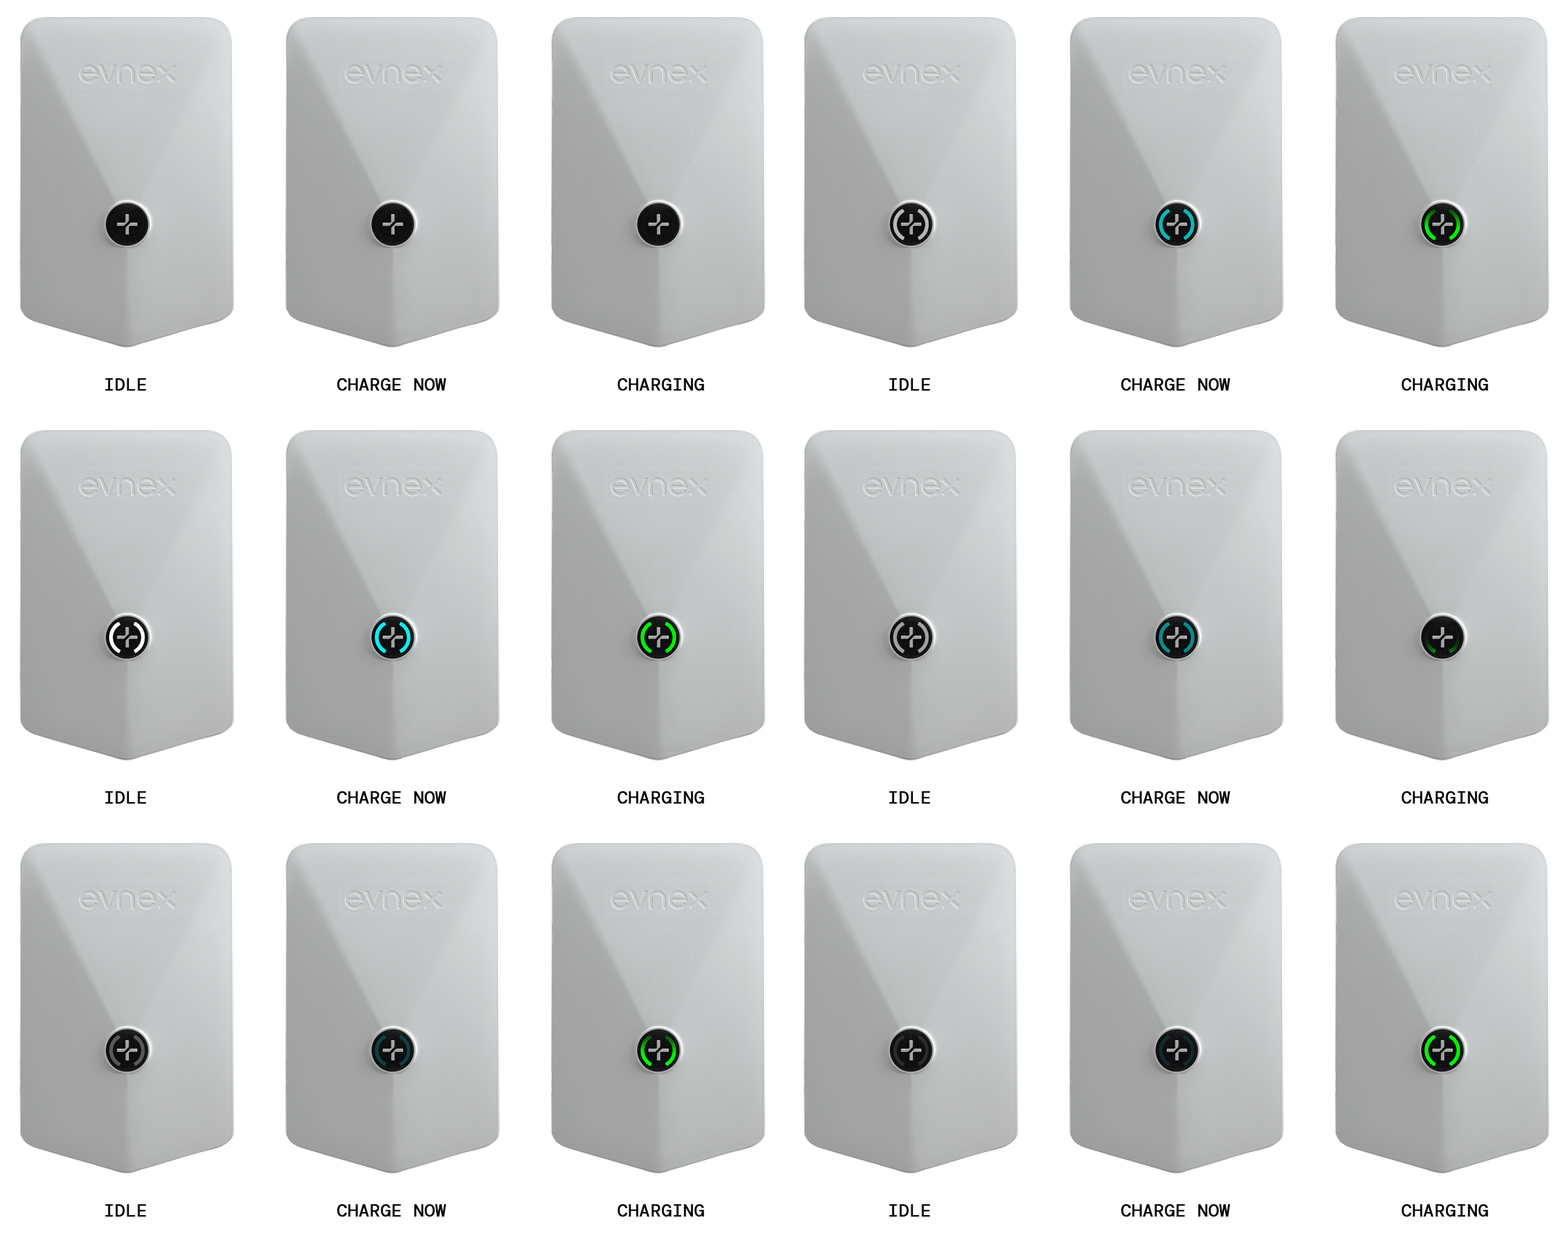
IDLE: When the LED's show a steady "breathing" animation in WHITE, it indicates that the charger is available to be used.
CHARGE NOW: When the LED's show a steady "breathing" animation in BLUE, it indicates that the vehicle is either not plugged in yet OR it is not drawing power.
CHARGING: When the LED's show a "filling" animation in GREEN, it indicates that the vehicle is currently charging. At full power this animates quickly, and slows down if charging more slowly.
I don't understand the LED displayIf you're having trouble charging, the LED display is a great reference to help diagnose the issue. See our full breakdown of LED display codes in our LED display guide.
4. Start a Charging Session (With & Without the App)
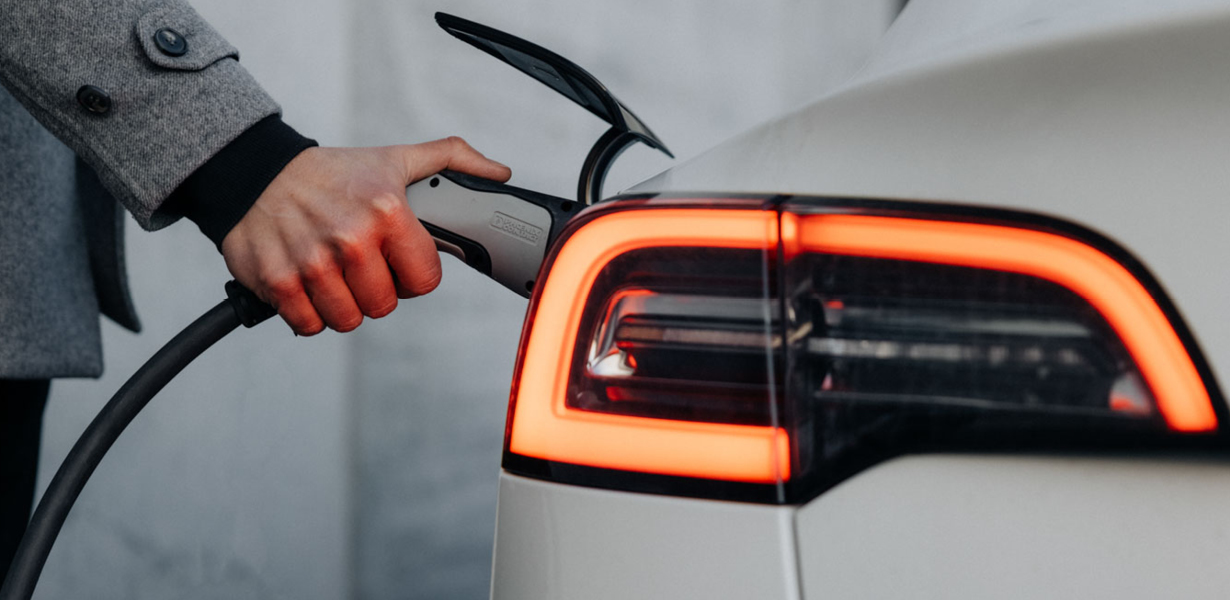
The easiest way to start charging is described in step 4 and can be done without the use of the Evnex app. Just connect your charger to your EV and your vehicle should request a charge immediately. The green "Charge" LED will start flashing 2x per second after the cable has been connected to your vehicle, and will transition to a continuous green light when charging has started. To stop a charge, you can do so from the vehicle before unplugging the charging cable.
My vehicle won't chargeIf a charging session doesn't automatically start, check that your EV isn't full already and that there is no schedule set in your vehicle or charger. You can override the charger's schedule by navigating to the Evnex app's "Controls" menu and selecting "Charge Now". See more below...
Start or Stop a Charge (in-app)
If you want to override the configured schedule or solar diversion settings, and initiate a full-speed charge straight away, you can press the "Charge Now" button. This tells the charger to offer your vehicle the fastest possible charge. As long as the vehicle itself isn't preventing charging then it should charge immediately.
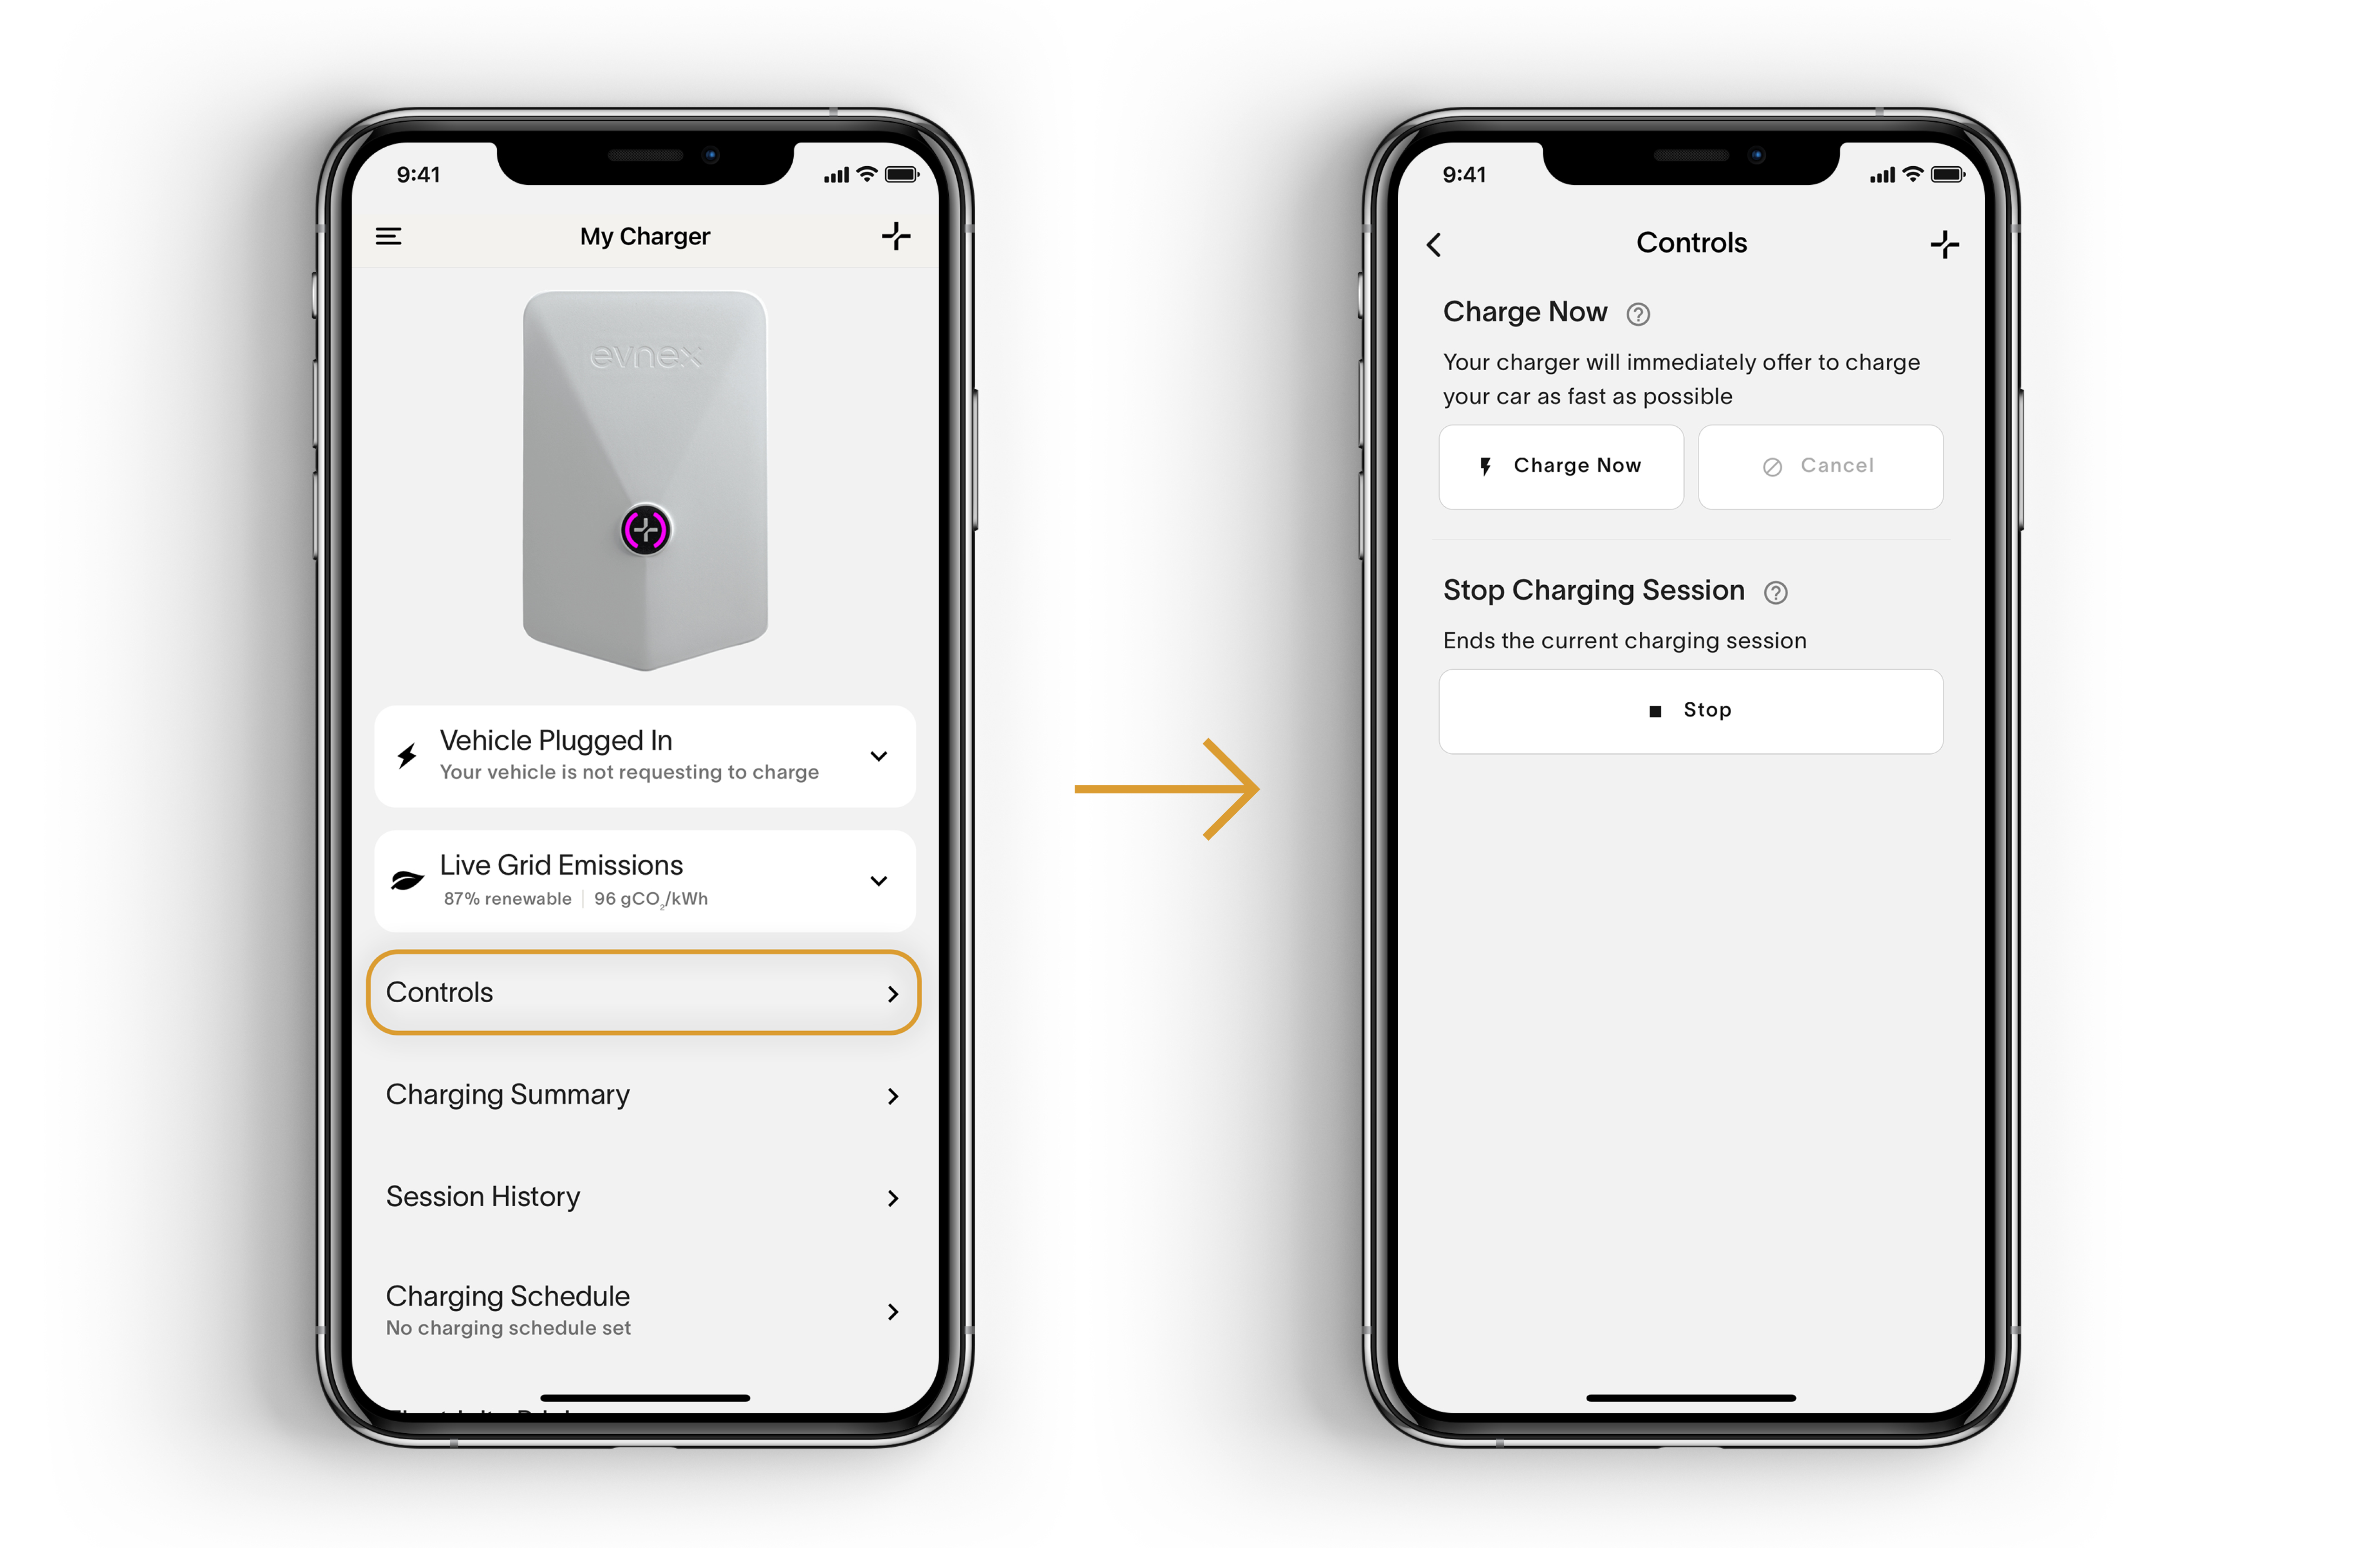
Follow the steps above to start or stop a charge. Navigate to the "Controls" tab located on the "Charger" page.
5. Ending a Charging Session
Once your vehicle has finished charging, unplug the connector from the vehicle. If you need to unplug before your car is full, navigate to the "Control" menu in the app and select "Stop Charging".
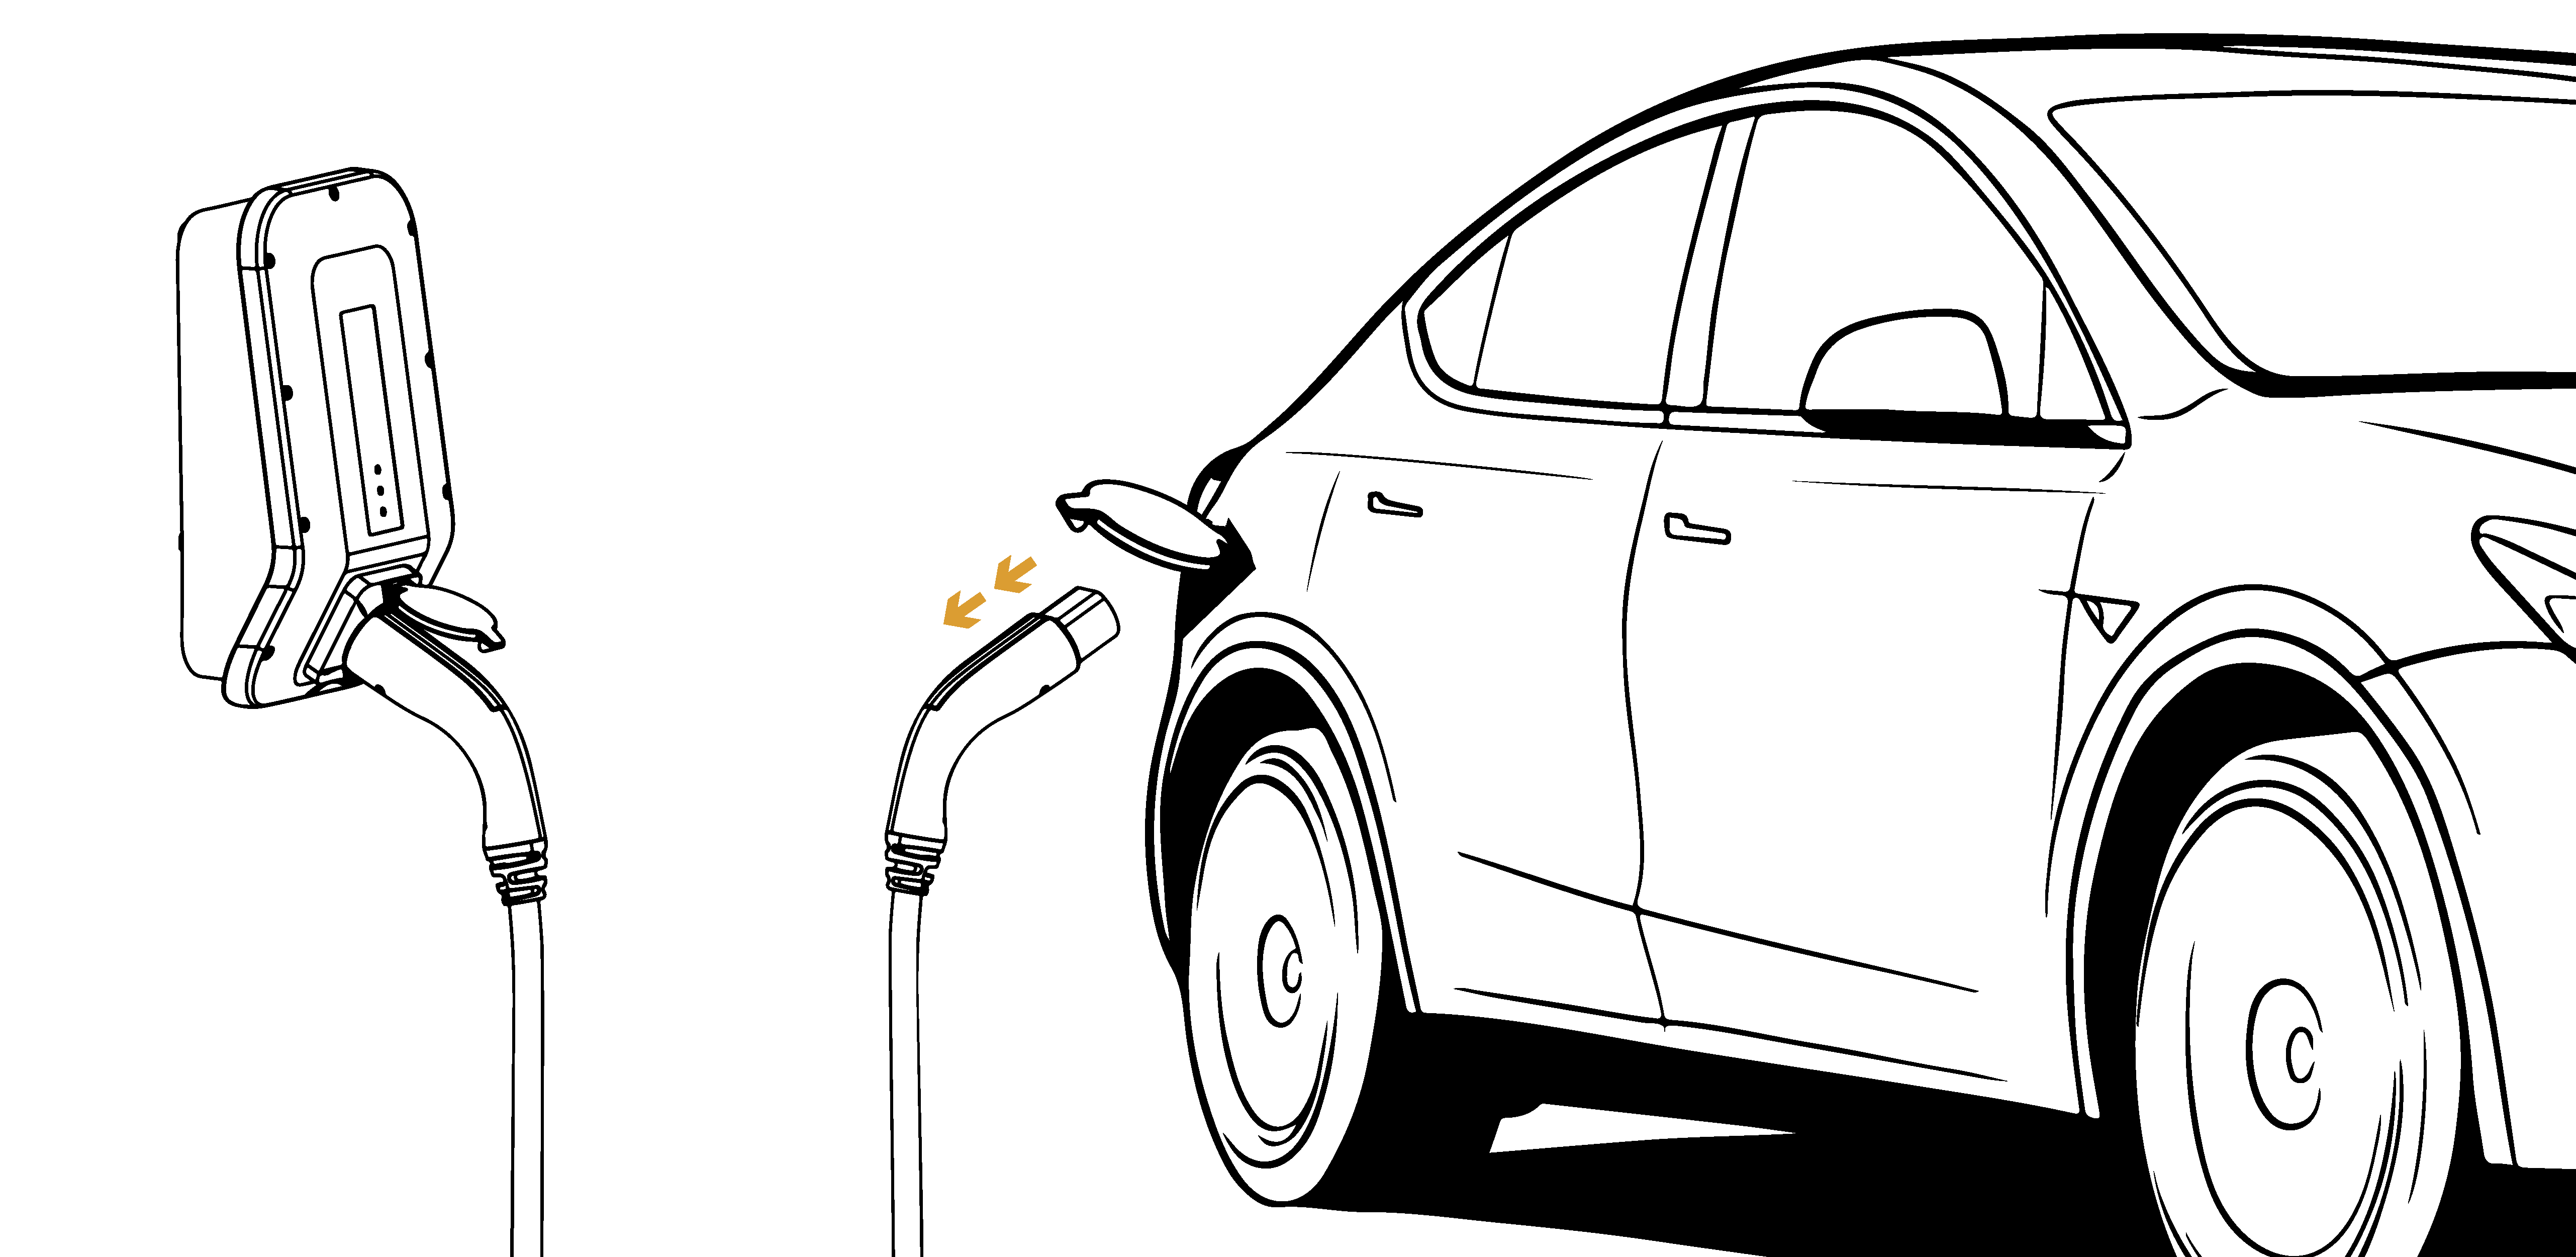
Do not power off your charger!Don't switch the charger off before disconnecting the cable from your vehicle. This will cause the charging cable's connector to remain locked in place and it won't be possible to remove it until after returning power to the charger.
Remove the plug from Vehicle firstIf your charge point has a socket outlet you must remove the plug from your vehicle before removing it from the charger. If you can't remove the plug from your vehicle, please check that the vehicle is unlocked.
You're all set!
Updated 3 months ago

