
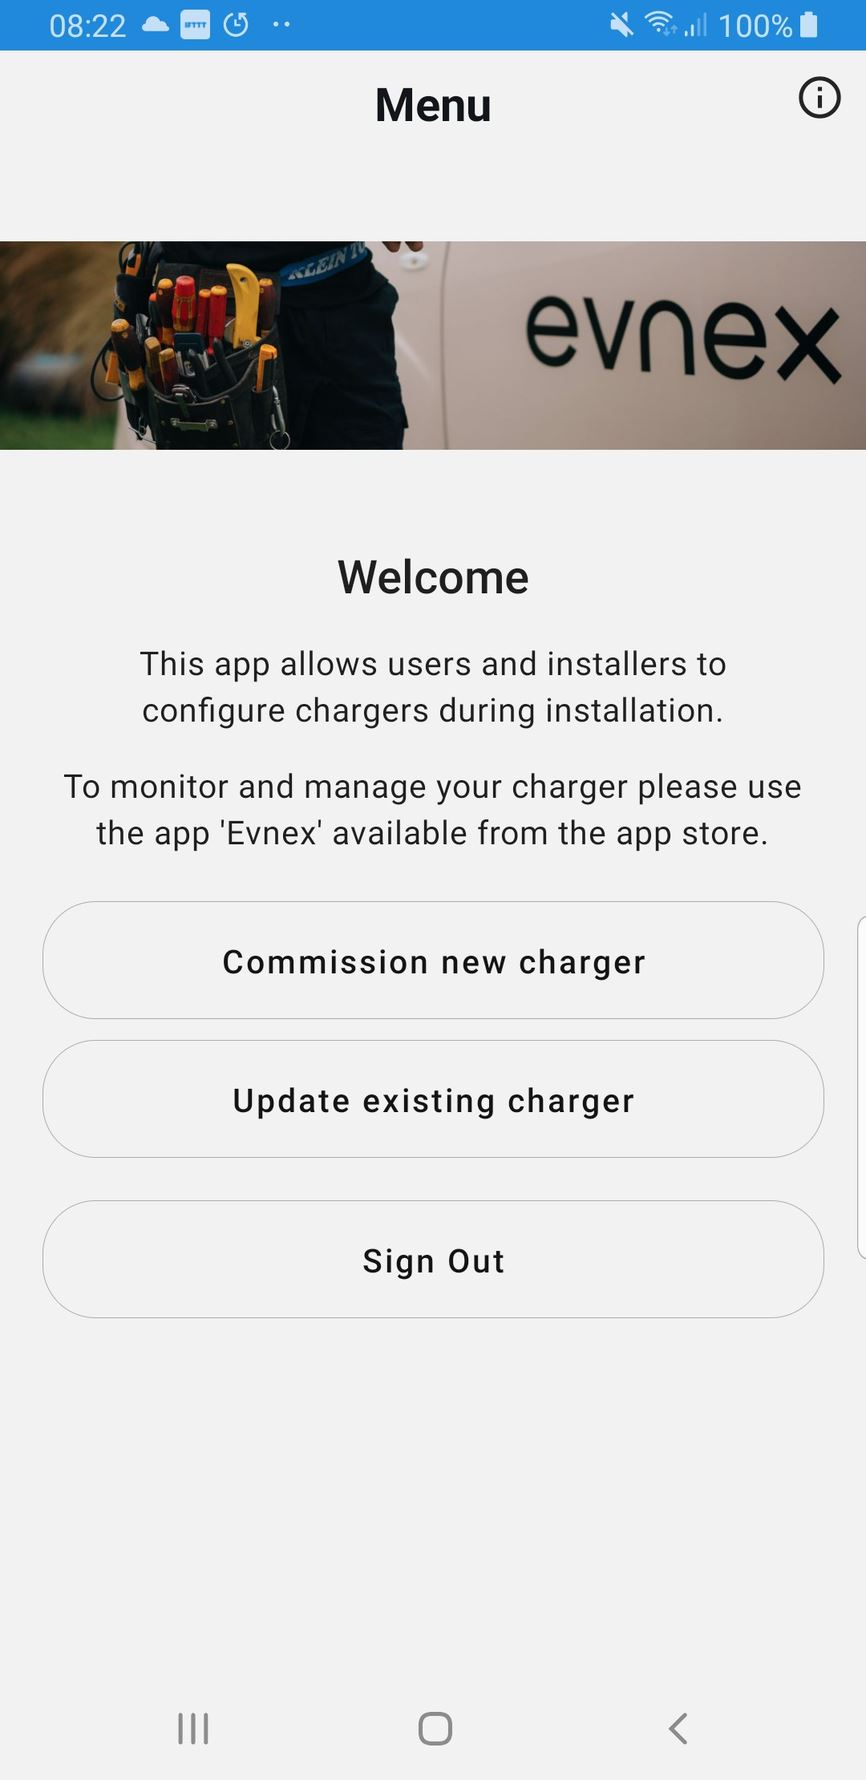
Commissioning a Home Residential Charger
Commission a charger in a residential home, via a Managed Install in the Evnex Installation app.
It's quick and easy to run through a managed commissioning process for an Evnex charger installed in a typical residential home. Our Evnex Installation app walks you through the process, and by the end the charger will be ready to go, with the driver set up to view and control the charger via their phone should they wish to do so.
This process describes Managed Installs, where some details about the job have been submitted ahead of the commissioning process. If you are completing the whole installation process onsite, please follow the instructions in Installing an Evnex EV charger.
1. Complete the physical installation
Refer to the Installation Manual for detailed instructions on the install process, in particular the sections on Installation, Wiring Connection and Closing the unit. Ensure that the charger is powered up before proceeding.
2. Select the right job
Log in to the Evnex Installation app, and from the main menu tap the button to Commission new charger. You will see a list of your pending installation jobs showing the names of the customers and the addresses where the chargers are to be installed. Tap the entry for the job you are currently commissioning.
If the customer has not yet activated their account you will be notified at this point, as you may need to ask them to do this while you carry on with the rest of the process.
Can't find the job you are looking for?Refer to the guide on Creating Installation Jobs for information on how to set up your jobs in our online portal, CP-Link.
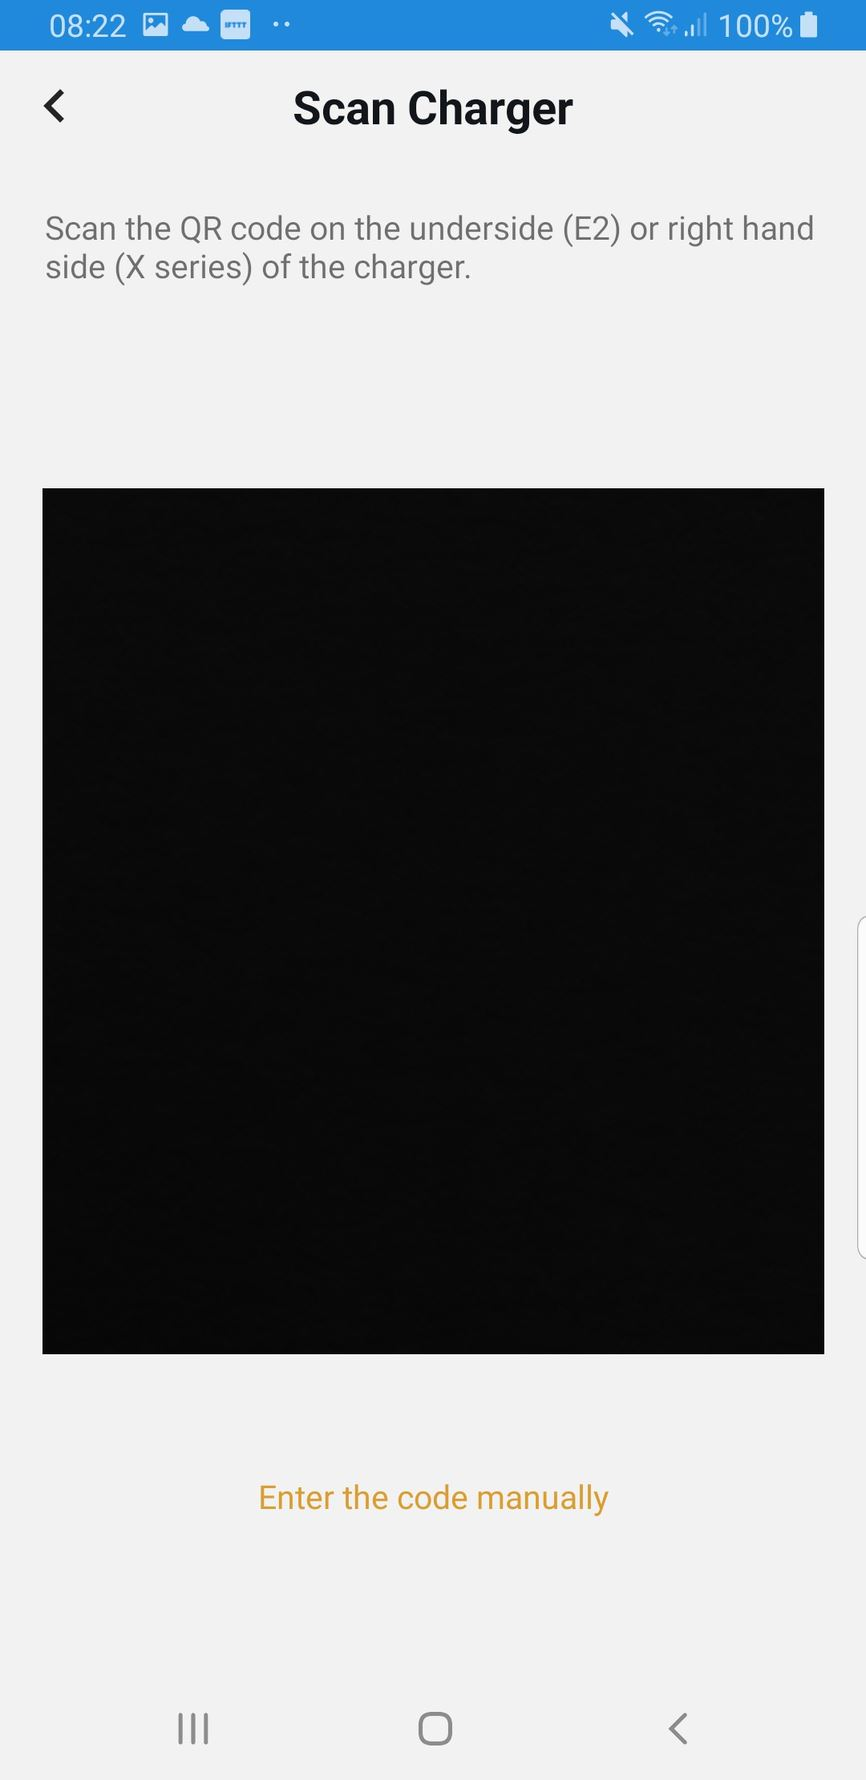
3. Scan the charger
The system needs to 'claim' this charger for the new driver, so to identify it please scan the QR code on the underside (E2) or right hand side (X series) of the enclosure. If this is difficult to access, you can instead enter the serial number manually by tapping on the link.
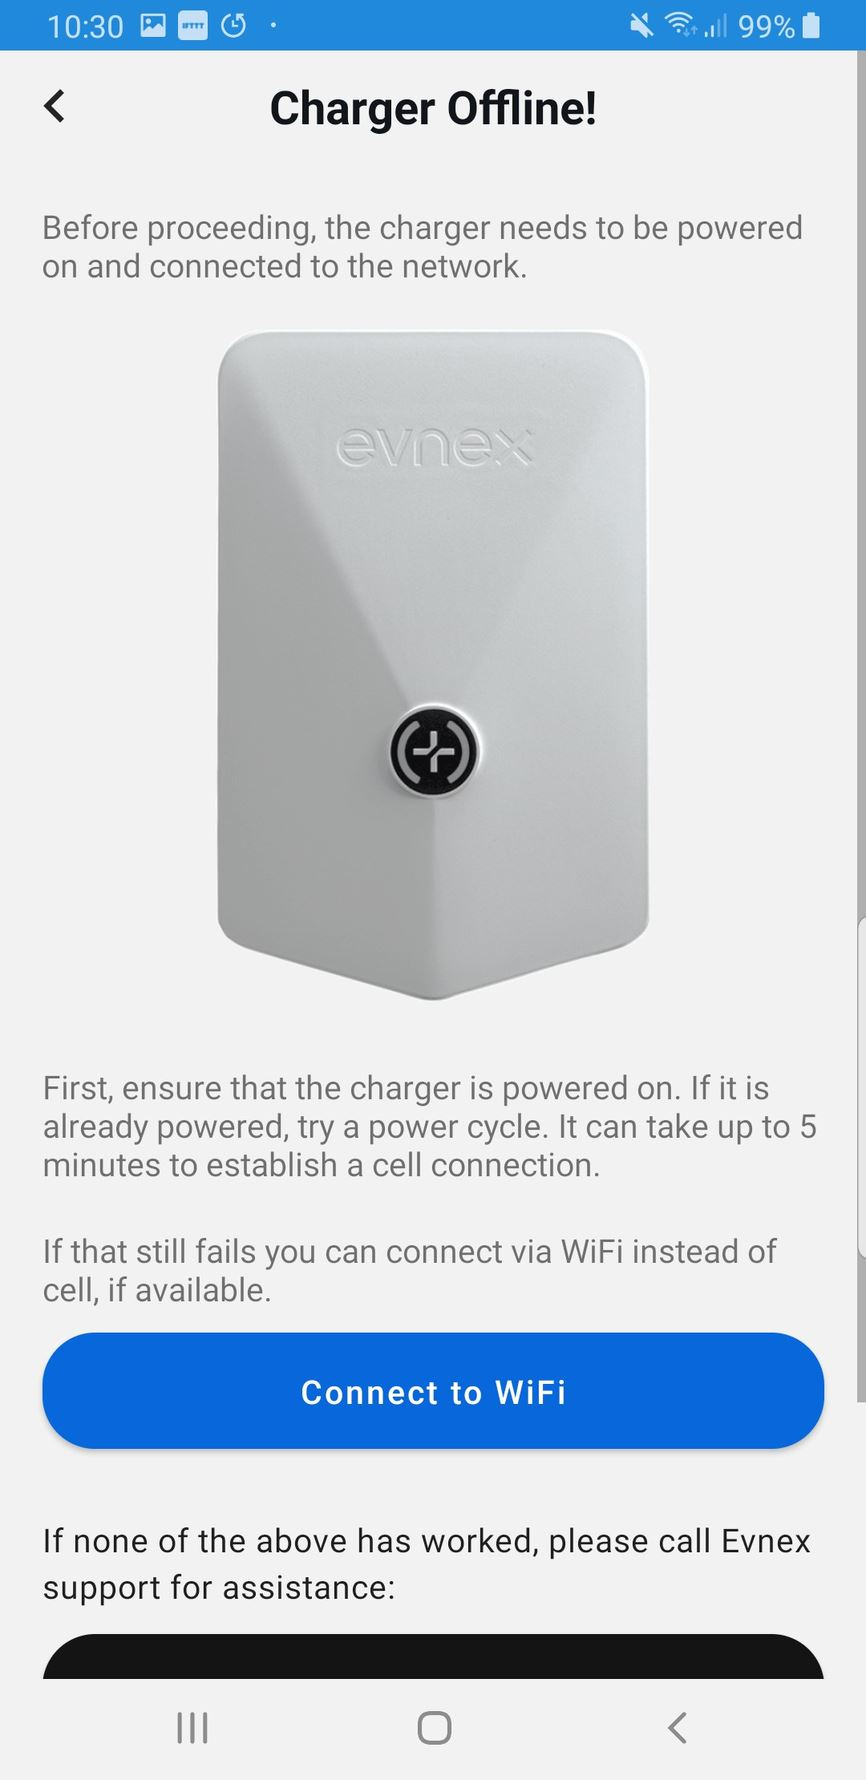
4. Ensure the charger is connected
In order to send final configuration to the charger it needs to be able to reach the internet and log in to the Evnex cloud. At this point in the commissioning process we perform a quick test, and if the charger is not logged in you will be prompted to work through some troubleshooting options to resolve that.
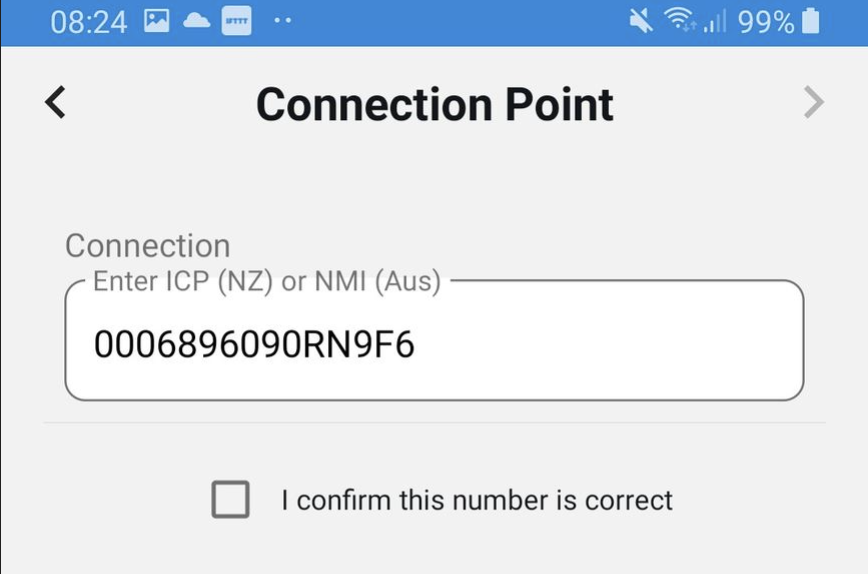
5. Confirm connection details
The app will now show the ICP (NZ) or NMI (Aus) where we believe the charger is being installed. Confirm that this is the correct number, or if it has changed then update it manually.
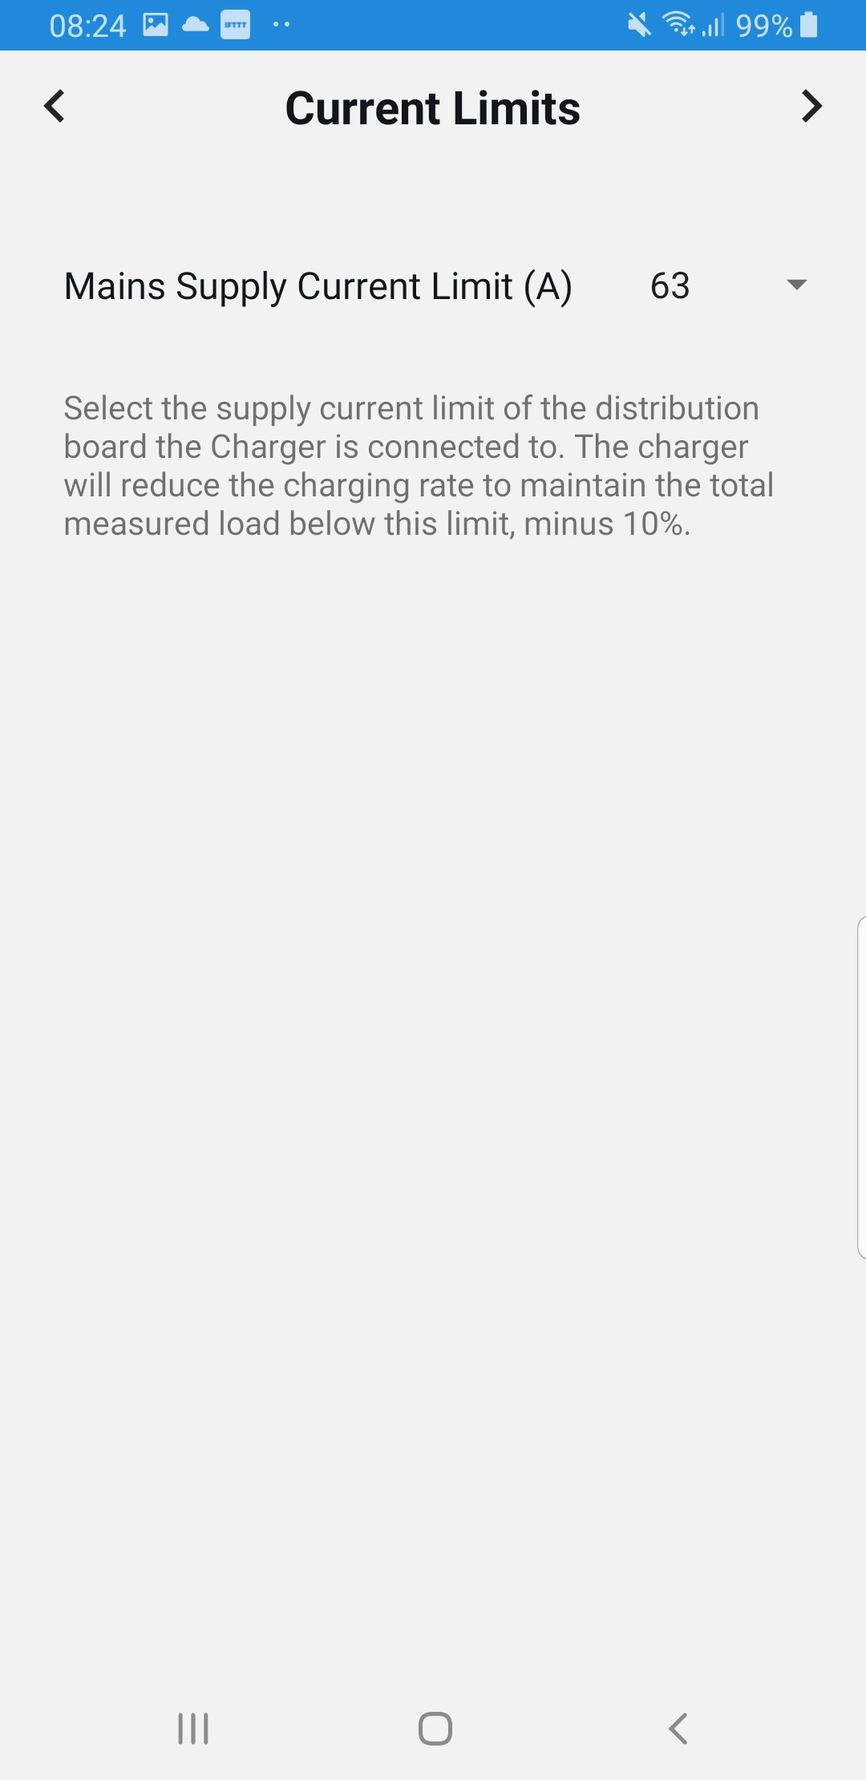
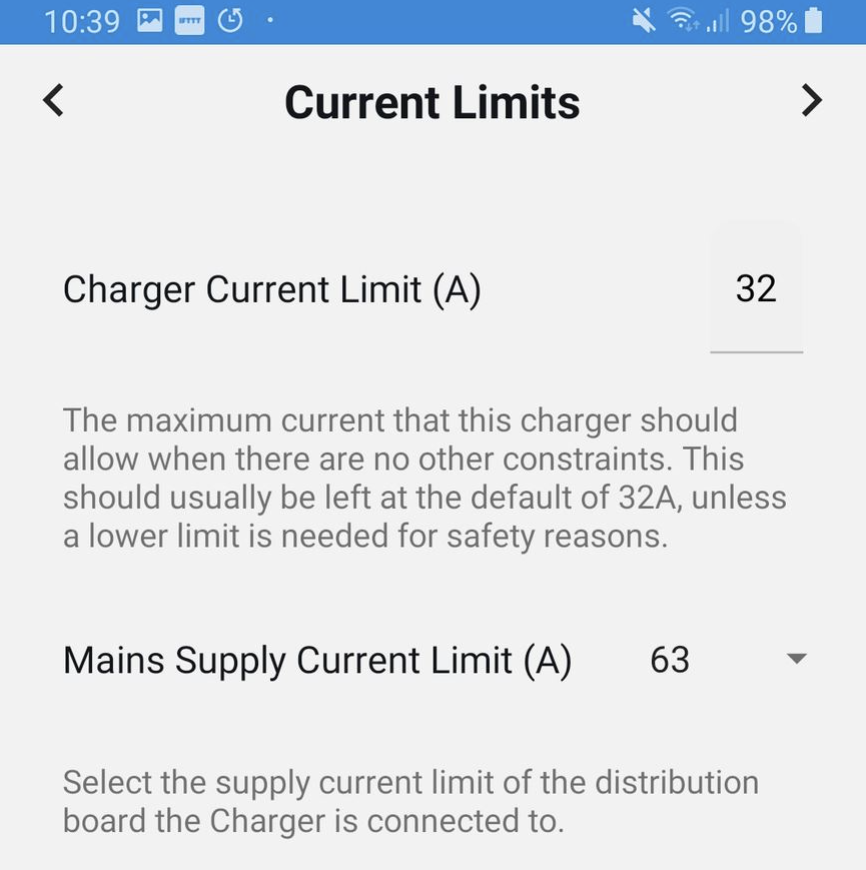
6. Set current limits
If you are installing an E2 charger, this screen is where you set the maximum current that the charger can use (for X-series chargers this is a DIP switch setting which you have already done as part of the physical installation).
We also need to set the maximum supply current for the location, which is monitored to ensure we don't overload the home by reducing the rate of charging at times when there are other heavy loads.
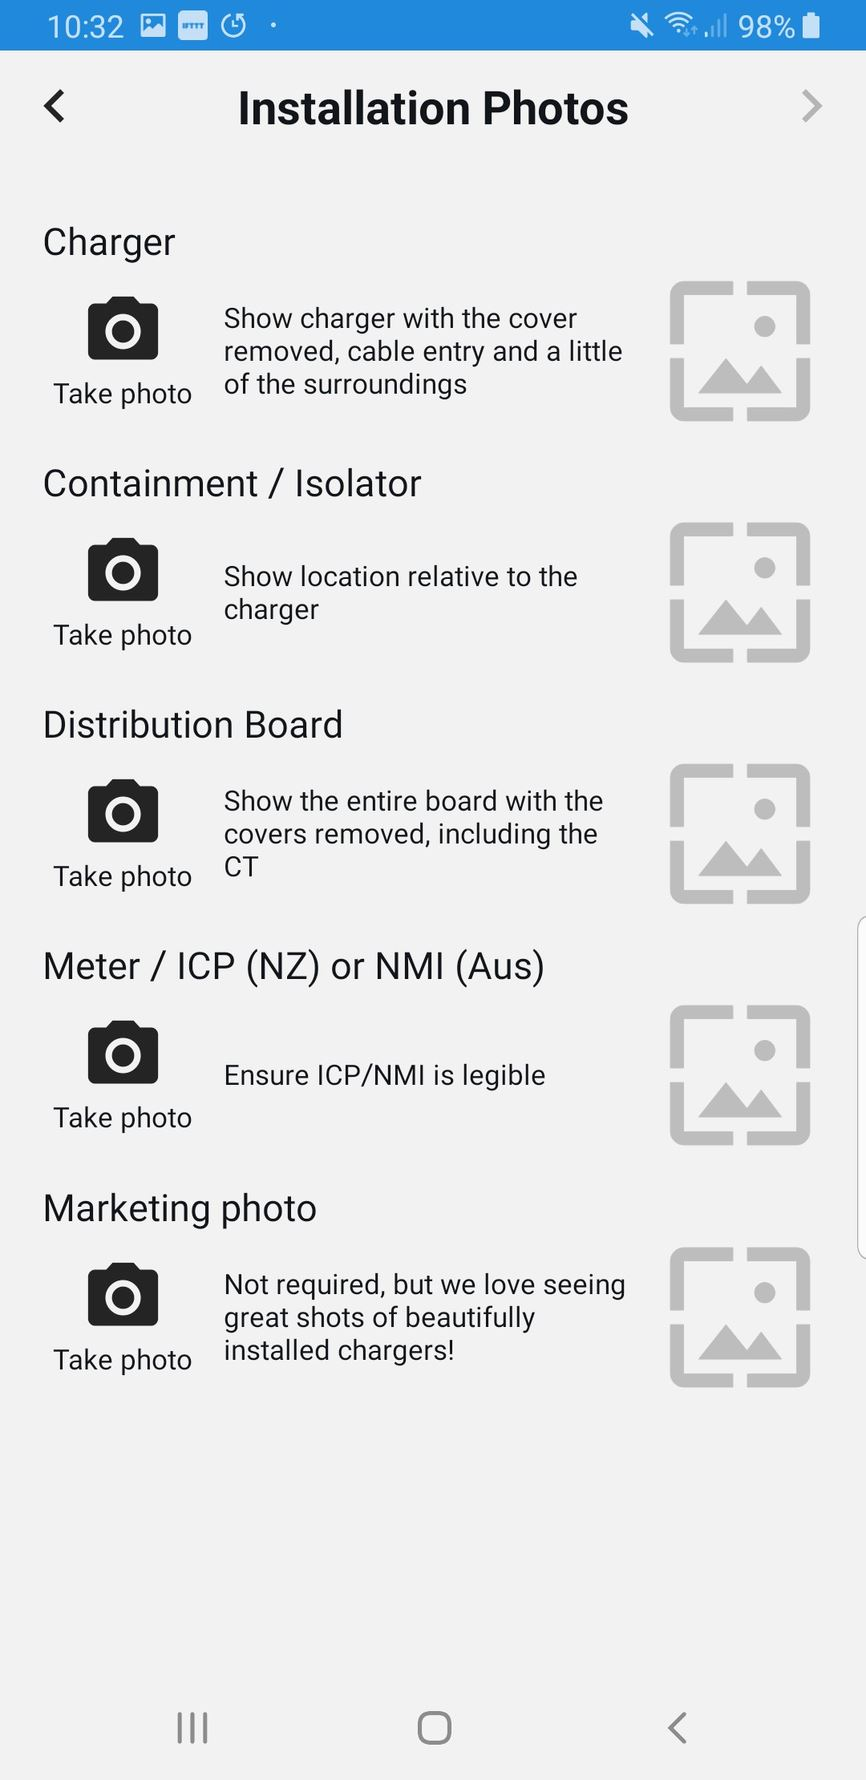
7. Installation photos
In the event that support is required in future, it is very useful for us to have some photos of the distribution board, charger, containment and meter. There is also an optional place to take a scenic shot which captures the ambience of your beautiful handiwork!
Photos can be quickly captured by tapping the camera icon. They become visible in CP-Link once the charger has been fully commissioned, in case you need to refer back to a previously completed job.
8. Commission the charger
Once you tap the final Start button, the Evnex cloud will link the newly installed charger to the previously activated driver account so that it will appear in the customer app. It also sends final configuration down to the charger, and reboots it ready for use. During this process the charger may go in and out of an error state.

Occasionally this commissioning step can fail, in which case you will be notified of what went wrong. In most cases you can go back and forward again to retry, or call Evnex support for assistance.
Once the charger has successfully completed commissioning, tap the Done button. If you have installed an E2 charger, you will be taken to a page where you can check the CT polarity (see step 9). Otherwise you will return to the main menu ready for your next job! The completed job will no longer appear in the installation app, but can be retrieved in CP-Link if you want to refer to any of the details at a later date.
9. Check CT Polarity
Once the charger has reconnected following commissioning, you will be able to check the polarity of the current transformer (and whether it is on the correct cable). Detailed instructions are available on the page, but in essence there is a graph which shows the value that is currently being read, so you can confirm that it is as you would expect.
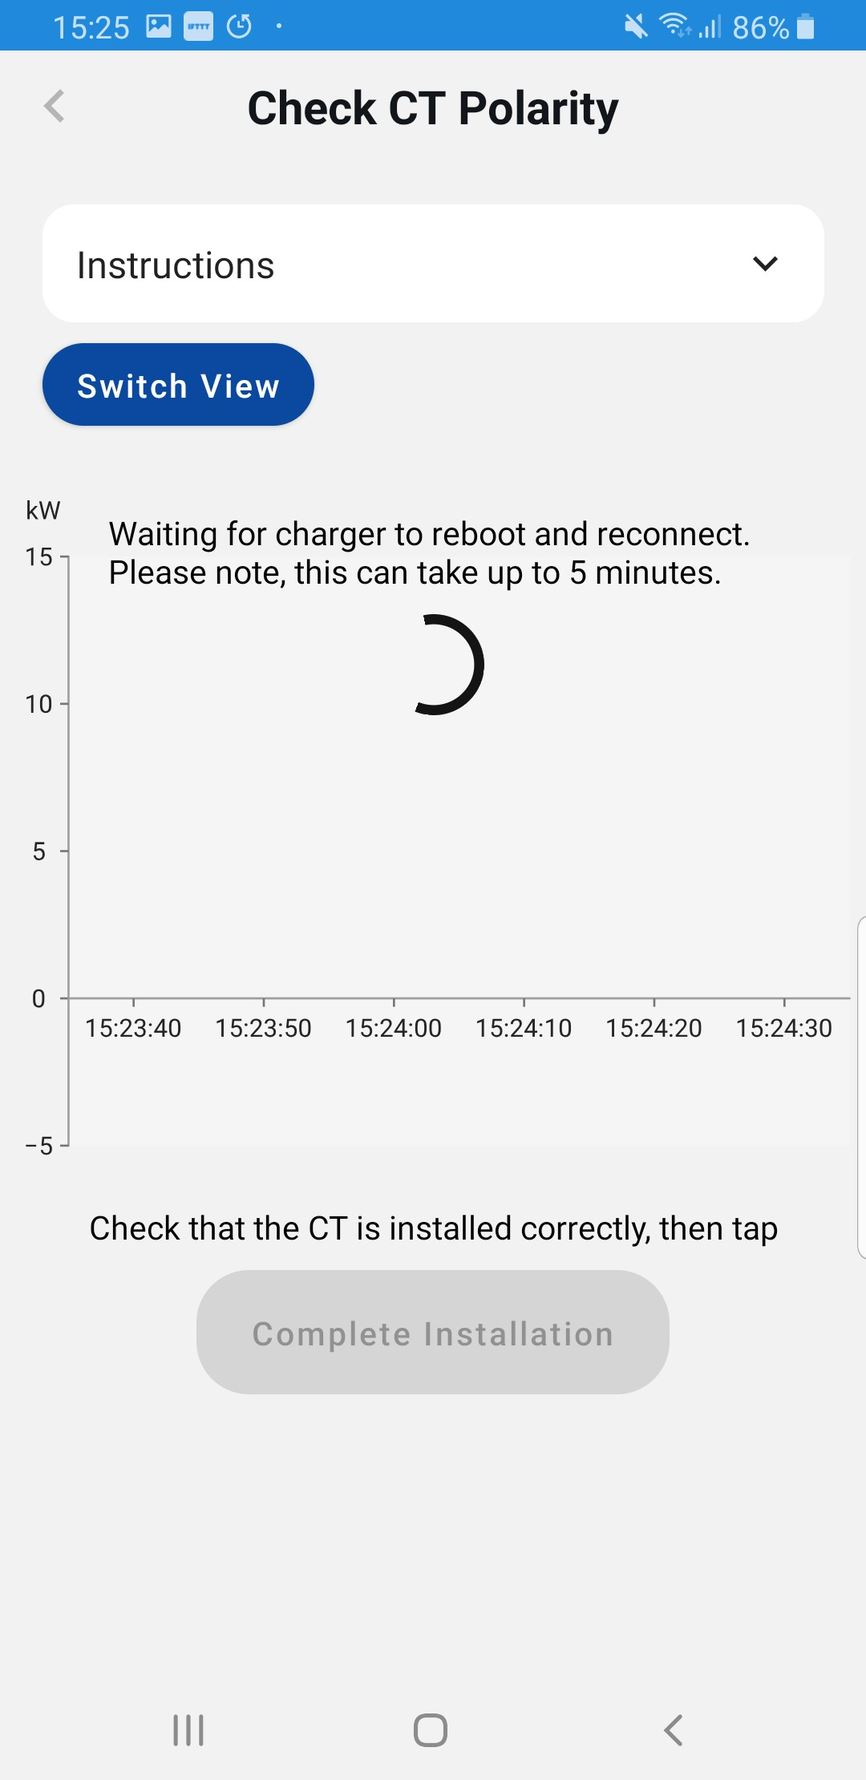

Tapping on Complete installation takes you back to the main menu.
Updated 4 months ago