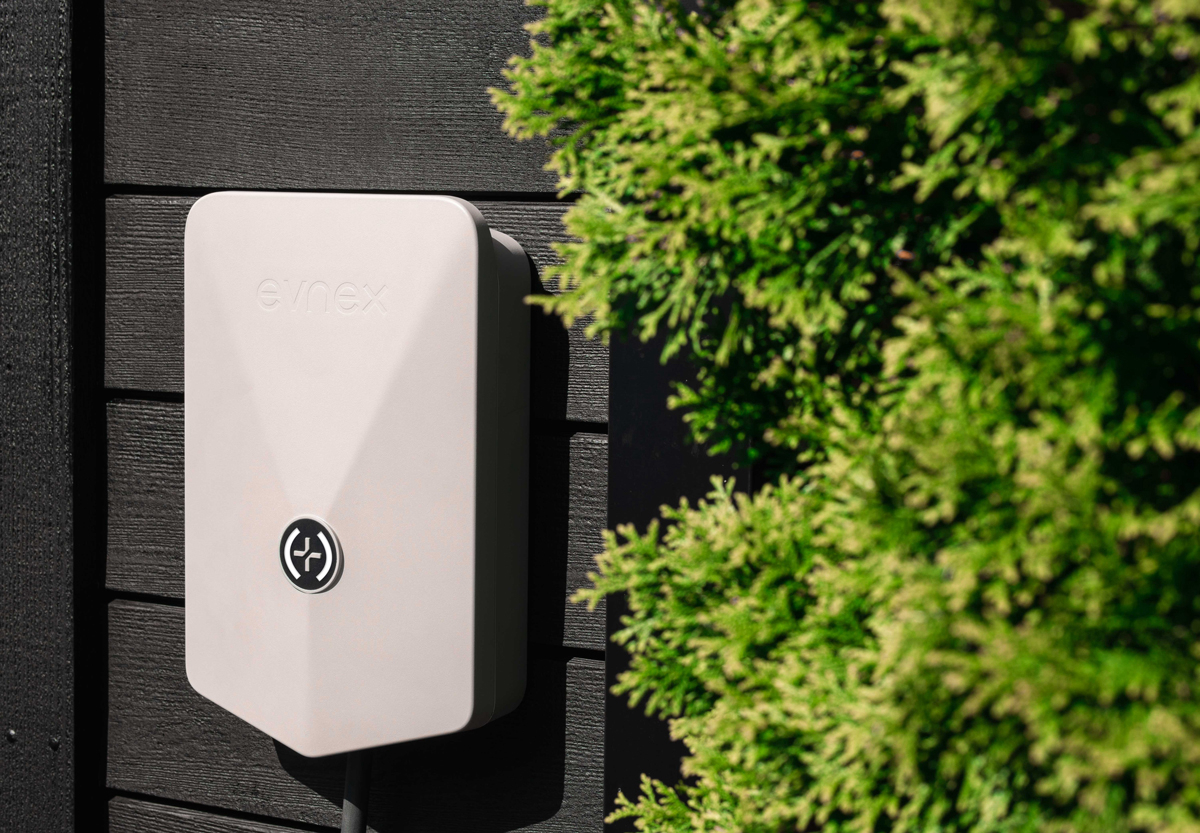
Installing an Evnex EV charger
Please note, these instructions are for registered professional electricians

Installation Instructions
Our smart EV chargers are linked across the internet to a cloud backend. This allows the driver to see and interact with them using a smartphone app, and enables Evnex to provide great support through visibility of diagnostic information. It is vital for the charger to be connected to the internet to complete commissioning.
In order to configure the charger a commissioning procedure must be followed using the Evnex Installation App. Testing of the charger won’t be possible until commissioning is complete, as the charger will be disabled until then.
We strongly recommend completing steps 1-3 prior to the installation date. This ensures that you are familiar with Evnex chargers and that your Installer account is ready to use. If you already have an Evnex Installer account, you can continue with step 4.
Contact our support team at any time of the process for assistance: (NZ) 0800 395 007 | (AU) 1800 959 377
It's critical the below steps are followed closely, as the charger will not work unless commissioned.
1. Download the Evnex Installation App.
Download the Evnex Installation app from the Apple App Store or Google Play Store
2. Complete the training module
Tap Become an Evnex Installer in the app to take you to the training module covering EV charger basics and the Evnex products that you will be installing. You can also complete your training on a desktop here: Evnex Installer Training
![[Start Install Training]\(Tap 'Become and Evnex Installer' in the app or click on the link below to take you to the)](https://files.readme.io/d4d18a1-image.png)
[Start Install Training](Tap 'Become and Evnex Installer' in the app or click on the link below to take you to the)
3. Activate your installer account
After completing the training, Evnex will send you an email with instructions on how to activate your account. Please follow the process and log in to the app ready to use it.
(Please check your spam/junk folder if you can’t see it).
4. Install the Charger
Complete the physical installation of charger as detailed in the manual included in the box, or in the training module.
You can look back at the training documentation at any time by tapping 'Review Training Material' from the main menu of the Evnex Installation app.
E2 Install Manual Download PDF|
X Series Install Manual Download PDF
5. Commission the Charger
Once the charger is installed and powered on, open the Evnex installation app to commission the charger.
- From the main menu, select 'Commission new charger'.
- Follow the on-screen steps to provide details about the installation and charger safety limits
- If the charger cannot connect to the cell network, you may be prompted to configure WiFi
A video walkthrough can be found here:
6. Check CT Polarity
Once the charger is commissioned, you will be able to check the polarity of the current transformer (and whether it is on the correct cable). Detailed instructions are available on the page, but in essence there is a graph which shows the value that is currently being read, so you can confirm that it is as you would expect.
7. Test the Charger
The charger will be enabled for testing for half an hour while you complete electrical and safety checks. After that it will become disabled to prevent unauthorised use until the owner links it to their Evnex driver account.
Updated about 2 months ago